
Part 3: Treatment of Rising Damp
Overview of Rising Damp Treatment
The process for the treatment of rising damp consists of two main phases;
- Stopping the source of the dampness with a remedial chemical DPC using Dryzone Damp-Proofing Cream or Dryrod Damp-Proofing Rods.
- Where necessary, reinstating areas of plaster that are damaged or that have been contaminated with salt, making sure to use appropriate salt and damp‐proof plastering methods for a long lasting finish.
This section of the booklet will cover both the treatment and replastering methods in a step‐by‐step guide.
Stopping the Source of Dampness
A: Choosing the Correct DPC Solution

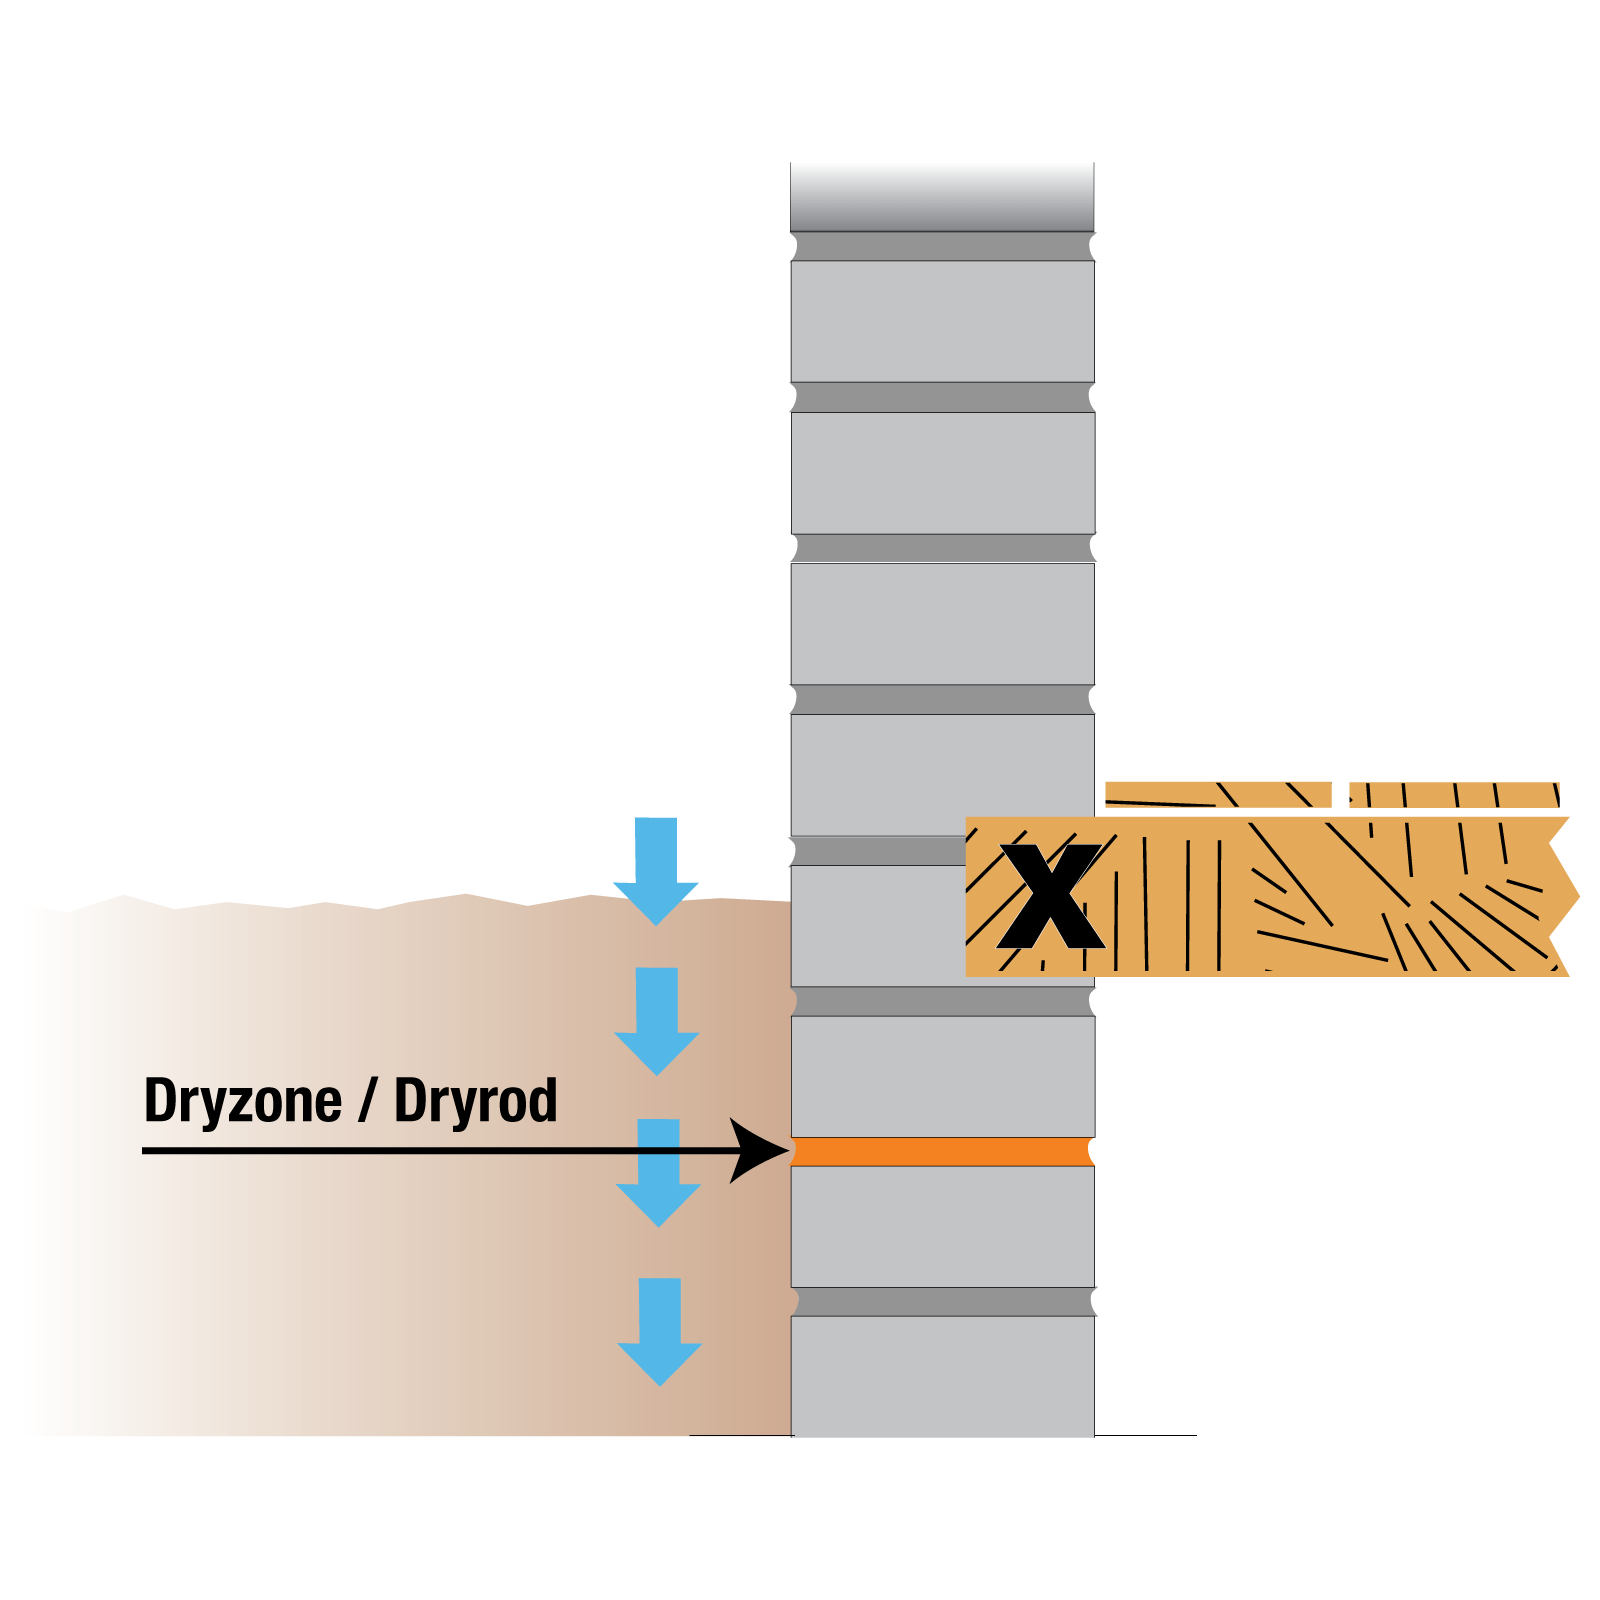
Figure 7: Stop rising damp by creating a waterproof mortar course.
In order to stop the progress of rising damp through a wall, it is necessary to create a new DPC. Installing a new physical DPC into an existing wall can be hazardous, expensive and impractical in many situations (e.g. party walls). Older pressure pump injection methods directly into the brick are also time consuming and often ineffective.
The most practical and effective way to create a new DPC in a wall is to make an existing mortar course into a waterproof barrier using high strength damp‐proofing creams or rods (see Figure 7).

Dryzone Damp-Proofing Cream: A high‐strength silicone‐based cream that is injected into holes drilled at regular intervals along a mortar course in order to form a DPC. Once injected, the cream diffuses along the mortar course before curing to form a breathable water‐repellent resin – preventing dampness from rising up the wall.

Dryrod Damp-Proofing Rods: 12 mm diameter fibre rods that carry a powerful water‐repellent material. They are inserted into holes drilled at regular intervals along a mortar course. Once inserted, the rods diffuse water repellent material along the mortar course, curing to form an effective barrier to rising damp. Dryrods are an alternative to Dryzone cream and are suitable for situations that require maximum performance, guaranteed dosing or increased treatment speed.
B: Preparing for Installation
Suitability for Treatment
Most types of traditionally built masonry walls can be treated using Dryzone Damp-Proofing Cream or Dryrod Damp-Proofing Rods. However, some walls should not or cannot be suitably treated. Special procedures may be required for certain types of masonry, e.g. perforated brick and some types of blockwork. Please contact our technical department on 01403 210204 or submit an enquiry for information on treating these types of wall.
Earth retaining walls can only be treated above external ground level. The area below ground must be suitably ‘tanked’ to prevent lateral moisture penetration. Information on waterproofing walls below ground can be found in our basement waterproofing section.
Pre‐Installation Procedures
Low Visual Impact
Because Dryzone Damp-Proofing Cream and Dryrod Damp-Proofing Rods are drilled into the mortar course rather than the brick they leave very little visual impact compared with other types of damp‐proofing. The holes drilled in the mortar course can simply be filled with new mortar after treatment with Dryzone or Dryrod. In many cases Dryzone or Dryrod can be installed from the outside of a building ‐ avoiding the need to remove skirting boards etc…


Pictures of walls with:
- “Dutch” method
- Holes drilled in bricks
- Holes drilled in mortar
Important: before undertaking any work it is essential to check the following:
- Check all cavities, where present, for debris which may cause bridging of the DPC.
- Ensure subfloor ventilation is adequate where timber suspended floors are installed.
- Lower ground levels where necessary.
- Remove perished / damaged external plinths and cut any external rendering back to above the height of the DPC line.
- Remove all floor coverings and furniture if appropriate.
- Remove floorboards if appropriate.
- Remove timber skirtings and architraves if appropriate. If they are to be re‐fixed, put to one side; remove all fixings.
- If replastering is necessary, remove any salt‐contaminated or damaged plaster that is to be replaced to a minimum height of 300 mm above the last detectable signs of dampness and/or salt contamination. Please see Part 4 – Replastering Following Insertion of a Damp‐proof Course chapter of this guide for advice on deciding whether plaster needs to be replaced and details of suitable replastering systems.
- Ensure that plants, paths and glass are protected from spillage.
- Check level of any adjoining solid floor which may be present and ensure that proposed DPC line is not bridged.
Safety
Read material safety datasheet for all Safeguard products and related materials before use and carry out a health and safety assessment of the procedures (e.g. drilling holes) necessary for the installation of Dryzone Damp-Proofing Cream or Dryrod Damp-Proofing Rods.
Party Wall Act
When appropriate ensure that the property owners have complied with the Party Wall Act 1996. Advise interested parties of possible inconvenience of noise and vibration especially neighbours living in an adjoining property which shares a party wall to be treated.
C: Placement of the DPC
In order to install either Dryzone Damp-Proofing Cream or Dryrod Damp-Proofing Rods, it is necessary to drill holes in a continuous line along a horizontal mortar course. Care must be taken to ensure the correct position of the DPC is chosen and the proper technique is used for the type of wall that is being treated.
Line of the DPC
Where possible, the line of the DPC for external walls should be placed at least 150 mm above external ground level in order to minimise the risk of rain splash‐back from external hard surfaces bridging the DPC (see Figure 8).

Figure 8: Splashback effect.
The intended line for the DPC should be exposed and clearly defined, taking into consideration internal and external ground levels, party and abutting walls, and changes in ground levels.
Internally, where a solid floor is present, the DPC should be inserted as close as possible to floor level. In all cases there should be continuity between the injected DPC and any DPM of a solid floor, the latter being taken up the wall to overlap with the injected DPC as described in CP 102.
Where suspended timber floors are encountered the DPC should, if possible, be inserted below the timbers.
Positioning of the DPC in relation to timber joists should be in accordance with BS 6576:
Where possible, the proposed DPC should be installed below the level of the timber joists and a check made that the DPC line is not bridged by sleeper walls, etc… If a DPC has to be installed above a timber floor, the client should be informed (in writing) that the floor is at risk of fungal decay.
BS 6576 “Code of practice for diagnosis of rising damp in walls of buildings and installation of chemical damp-proof courses”
DPC Positions
The diagrams below illustrate the correct positions for injection or insertion into brick walls. The same principals also apply to stone walls.

Internal dividing wall as close to a solid floor as possible.

Inject 150 mm above external ground level and tank (or lower external ground and insert).

Insert below timber joists.

Lower ground and insert below joists or inject and ensure joists ends are fully protected.
Insert below wallplate.

Insert below joist level and below wallplates on sleeper walls.
X = all timber should be preferably physically isolated from any damp masonry in the vicinity of the DPC. Where this is not possible, fully treat timbers with ProBor 50 in accordance with the directions given in the Safeguard publication, Dry Rot & its Control. Visit the dry rot page for further details.
Vertical Isolations
Where adjoining / abutting walls are present which are not to be treated, a vertical DPC must be installed. This should not be less than 1200 mm high and extend not less than 500 mm above the last evidence of dampness / salt contamination.

Vertical DPC to isolate abutting walls etc.

DPC to accommodate slight changes in ground levels and adjacent untreated sections of wall.
Vertical isolations are not capable of withstanding hydrostatic pressures which may be encountered with stepped properties, raised external ground levels, etc.
The Risk of Timber Decay
Where joist ends / timber wall plates are embedded in damp masonry, these must be checked for the presence of fungal decay. Ideally, physically isolate the timbers from the masonry by a DPM or joist hangers.
Where this is not possible and where timbers are damp and not decayed or just embedded in masonry, the ends should be given a thorough application of Safeguard ProBor 20 and / or ProBor 50 as described in the Safeguard publication, Dry Rot & its Control. Any timber remaining damp will always be at risk to decay; proper treatment as described in the above publication will reduce the risk of rot.
Should the DPC have to be above the floor timbers then measures must be taken to ensure that the timbers are not vulnerable to fungal decay. Precautions should be taken as described above especially with reference to the application of ProBor 50.
It should be noted that Probor 50 and Probor 20 are approved for professional use only.
D: Drilling Instructions
Drill Hole Size, Depth and Location
For treatment to be fully effective with either Dryzone Damp-Proofing Cream or Dryrod Damp-Proofing Rods, the system requires 12 mm diameter holes to be drilled at horizontal intervals no greater than 120 mm. The depth of hole required for various thicknesses of solid wall is shown in the table on the next page. For all other walls the depth of hole should be to within 40 mm of the opposite face. In all cases the most effective target site is to drill horizontally directly into the mortar course, preferably at the top of all perpends of the selected course (see Figures 9 and 10).

Figure 9: Drilling pattern for Double Flemish Bond.

Figure 10: Drilling pattern for Stretching Bond.
Clearing the Drill Holes
When drilling certain types of mortar, a large amount of debris can remain in the hole after drilling. This can inhibit the application of Dryzone and Dryrods. In these situations, this residue should be removed using a Dryzone System Hole Clearing Tool prior to the installation of Dryzone Damp-Proofing Cream or Dryrod Damp-Proofing Rods.

Drill holes at 120 mm intervals.
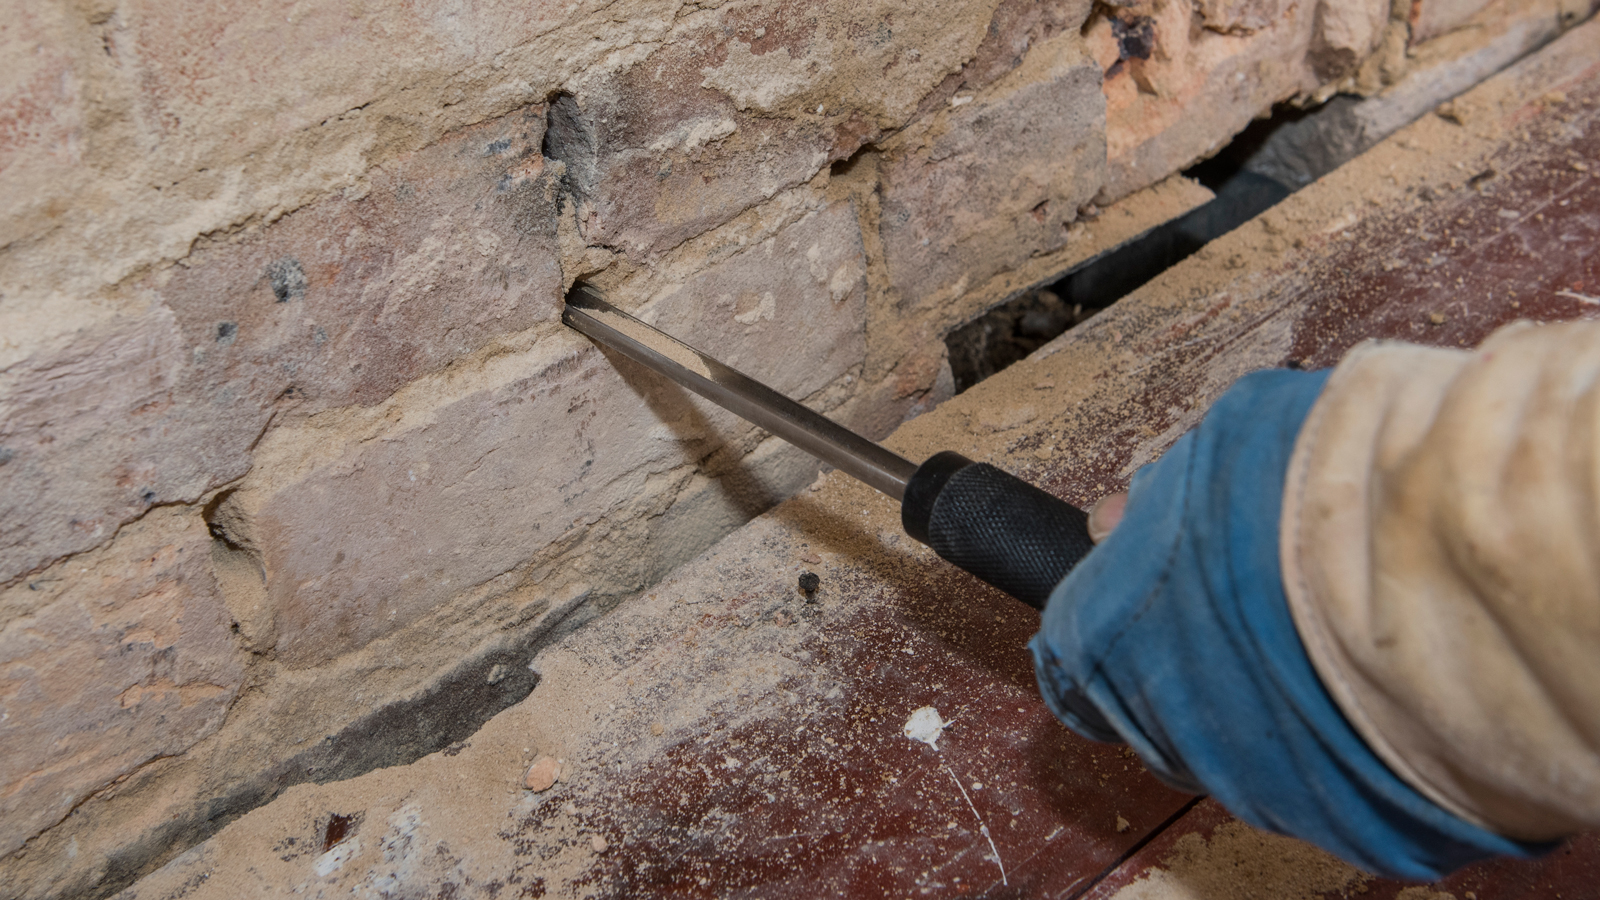
Clear the drill holes using the Dryzone System Hole Clearing Tool.

Drill Preparation
Measure the thickness of each wall to be treated. Set the depth gauge of the drill or apply tape to the drill bit in order to identify the correct drilling depth accordingly.
Cavity Walls

Figure 11: Treating cavity walls
Cavity walls may be drilled / treated from one side in a single operation when using Dryzone Damp-Proofing Cream. If Dryrod Damp-Proofing Rods are being used, each leaf should be treated separately. When undertaking treatment from one side, drill completely through the selected mortar course, allow the drill bit to pass across the cavity (see Figure 11) and then drill the other leaf of brickwork to a depth of 90 mm. The viscosity of Dryzone Damp-Proofing Cream is such that it is possible to treat each leaf from a single drilling operation. Always ensure that the cavity is clear before treatment.
Drilling Solid Walls
Wall Thickness
| 4½″ (115 mm) | 9″ (230 mm) | 13½″ (345 mm) | 18″ (460 mm) | |
|---|---|---|---|---|
| Depth of Drill Hole | 95 mm | 210 mm | 325 mm | 440 mm |
| Hole Intervals | 120 mm | 120 mm | 120 mm | 120 mm |
In virtually all cases solid brick walls may be drilled / treated from one side only in a single operation (see Figures 12, 13, and 14). Drill the selected mortar course at the prescribed intervals to the appropriate depth in accordance with the table above.

Figure 12.

Figure 13.

Figure 14.
Drilling Random Stone and Rubble Infill Walls
It is not generally advisable to use Dryrod Damp-Proofing Rods on random stone or rubble infill walls because the lack of material consistency throughout the wall can make debris clearance difficult. The use of Dryzone Damp-Proofing Cream is recommended.

Figure 15: Drilling pattern for irregular stone.
As far as practically possible, follow the mortar course at the appropriate selected level (see Figure 15). The variable thickness of stone walls and the possibility of rubble infill dropping and blocking injection holes cause difficulties for any damp‐proofing system. Should these difficulties occur it might be necessary to drill to 50% of the wall thickness, from both sides at a corresponding height. Alternatively drill additional holes, which do not become obstructed, adjacent to obstructed holes to ensure that an adequate volume of Dryzone Damp-Proofing Cream is introduced.
Where there is difficulty locating the mortar course, consideration should be given to reducing the drill hole spacing from 120 mm to 100 mm.
E: Installing Dryzone or Dryrods

Installing Dryzone

600 ml foil cartridges
Pierce the end of the foil wrapped sausage and then insert it into the Dryzone application gun. Insert the nozzle of the gun into the full depth of the pre‐drilled hole. Gently squeeze the gun trigger and back‐fill each hole fully with Dryzone Damp-Proofing Cream to within one centimetre of the surface. Periodically wipe clean the outside of the nozzle.
310 ml plastic cartridges
Install the mastic cartridge into a standard mastic gun and then attach the supplied nozzle. Insert the nozzle of the gun into the full depth of the pre‐drilled hole. Gently squeeze the gun trigger and back‐fill each hole fully with Dryzone Damp-Proofing Cream to within one centimetre of the surface. Periodically wipe clean the outside of the nozzle.
In order to prevent wastage when treating a cavity wall from one side, it is advisable to mark the delivery tube using tape to indicate the depth of the concealed hole and the width of the cavity.
Dispose of used cartridges in a plastic bag in accordance with local waste disposal regulations.
Material Requirement:
| Wall Thickness | ||||
|---|---|---|---|---|
| Wall Length | 4½″ (115 mm) | 9″ (230 mm) | 13½″ (345 mm) | 18″ (460 mm) |
| 10 m | 1.5 | 3.3 | 5.1 | 6.9 |
| 20 m | 3.0 | 6.6 | 10.2 | 13.8 |
| 30 m | 4.5 | 9.9 | 15.3 | 20.7 |

Dryzone 600 ml foil cartridges

Dryzone 310 ml plastic cartridges
| Wall Thickness | ||||
|---|---|---|---|---|
| Wall Length | 4½″ (115 mm) | 9″ (230 mm) | 13½″ (345 mm) | 18″ (460 mm) |
| 10 m | 2.9 | 6.4 | 9.9 | 13.4 |
| 20 m | 5.8 | 12.8 | 19.8 | 26.8 |
| 30 m | 8.7 | 19.2 | 29.6 | 40.1 |
Accidental Spillage
In the event of any accidental spillage of Dryzone Damp-Proofing Cream, the spilt material should be wiped up immediately and the wipes placed in a plastic bag and disposed appropriately. Contaminated surfaces should be washed immediately with warm soapy water.

Installing Dryrods
Clear any drilled holes with the Dryzone System Hole Clearing Tool to remove any debris that may impede rod insertion. Wearing suitable gloves, remove the rods one by one from the packet, inserting a single rod into each hole. Ensure the rods are recessed approximately 5 mm from the brick face while trying not to force the rod into the hole.
When installing internally, performance of the rods will not be affected if the rods protrude slightly where mortar has eroded from the surface, as the rods will be covered during redecoration.
Material Requirement
Dryrod Damp-Proofing Rods come in sealed foil packs of 10 rods. Each rod is designed to treat a 120 mm length of 9 inch double skin brick wall, giving a coverage rate of 1.2 m per foil pack of 10 rods.

Dryrods can be cut with a Dryrod Cutting Tool
For walls less than 9 inches thick, the rods can be cut to the appropriate size using the Dryzone System Rod Cutting Tool. For walls thicker than 9 inches, it is possible to combine up to 2 rods per hole, cutting the second rod to fill any excess space left over by the first. The following tables can be used as a coverage guide for various wall thicknesses:
| Wall Thickness | ||||
|---|---|---|---|---|
| 4½″ (115 mm) | 9″ (230 mm) | 13½″ (345 mm) | 18″ (460 mm) | |
| Depth of Drill Hole | 95 mm | 210 mm | 325 mm | 440 mm |
| Length of Dryrod | 90 mm | 180 mm | 270 mm | 360 mm |
| Wall Thickness | ||||
|---|---|---|---|---|
| Wall Length | 4½″ (115 mm) | 9″ (230 mm) | 13½″ (345 mm) | 18″ (460 mm) |
| 10 m | 42 | 84 | 125 | 167 |
Storage
It is advisable to keep the rods inside the foil packs until the time of insertion. If placed on a porous surface, the rod may start to spread water repellent material.
Equipment Cleaning
Any equipment that has come into prolonged contact with the rods should be cleaned regularly using warm water.
F: After Installation
Making Good After Treatment
Important: Once Dryzone or Dryrods have been installed, the dampness that was already present in the wall will need to dry out through evaporation.
Therefore, if possible, it is beneficial to delay the attendant works for as long as is feasible to facilitate the maximum possible period for drying.
- Provide good ventilation to allow drying of the wall.
- Ensure that the DPM of any new solid floor overlaps with the inserted DPC (CP 102:1973). If necessary join the DPM with the DPC by the use of Drybase Liquid-Applied DPM. If no DPM is present, run Drybase Liquid-Applied DPM out across the solid floor for 50 – 100 mm and up the wall to overlap with the DPC (see Figure 16).

Figure 16: Suggested finishing work.
- Any replastering should be carried out strictly in accordance with the Safeguard Replastering Specification (see Part 4 – Replastering Following Insertion of a Damp‐proof Course chapter).
- Refix timber skirtings after applying a liberal coat of Drybase Liquid-Applied DPM to their backs and base.
- If required form a bell‐mouthed casting with the external render (see Figure 16).
- Fill external holes using a mortar mix to match the existing mortar.
Redecoration
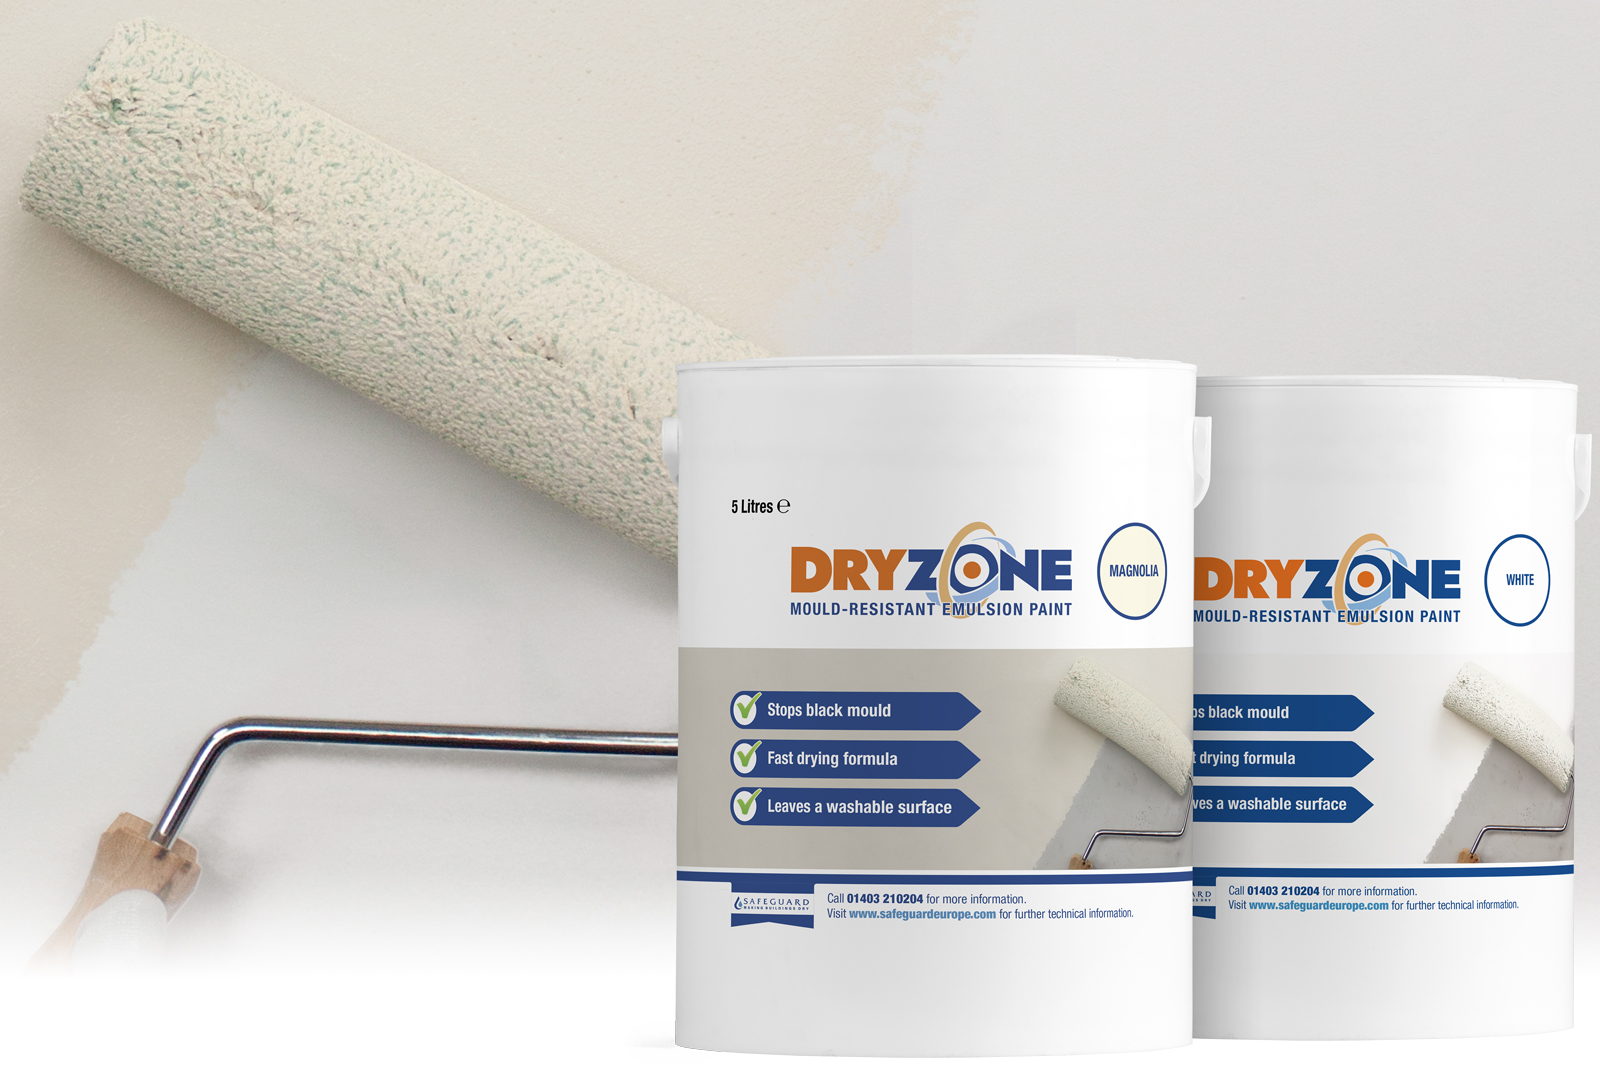
Application of Dryzone Mould-Resistant Emulsion Paint.
A damp wall takes time to dry out. As a general guide, the drying rate is given as 1 month for every 25 mm of wall thickness (BRE Digest 163 ‘Drying out buildings’). Thus 230 mm will take approximately 9 months to dry. However, the drying processes depend on environmental conditions, ventilation and the type of masonry, so drying may take considerably longer.
It is possible to redecorate within 24 hours of treatment if the Dryzone Express Replastering System is used. It allows for the immediate application of plasterboard and, when dry jointing is used, the immediate application of a skim coat. As the wall dries out, it is important to consider the following:
- Redecorate using a non‐vinyl-based emulsion e.g. Dryzone Mould-Resistant Emulsion Paint.
- Maintain good ventilation around walls.
- Fill external holes using a mortar mix to match the existing mortar.
If replastering is not necesary or it is not possible to use the Dryzone Express Replastering System (in which case Dryzone Damp-Resistant Plaster should be used) the following points should be considered:
- Delay any decoration for 4 – 6 weeks following the installation of the DPC and any subsequent replastering and allow for good natural ventilation to enhance drying. Do not apply heat or accelerated drying methods.
- Do not use wallpaper for at least 12 months (longer on thick walls).