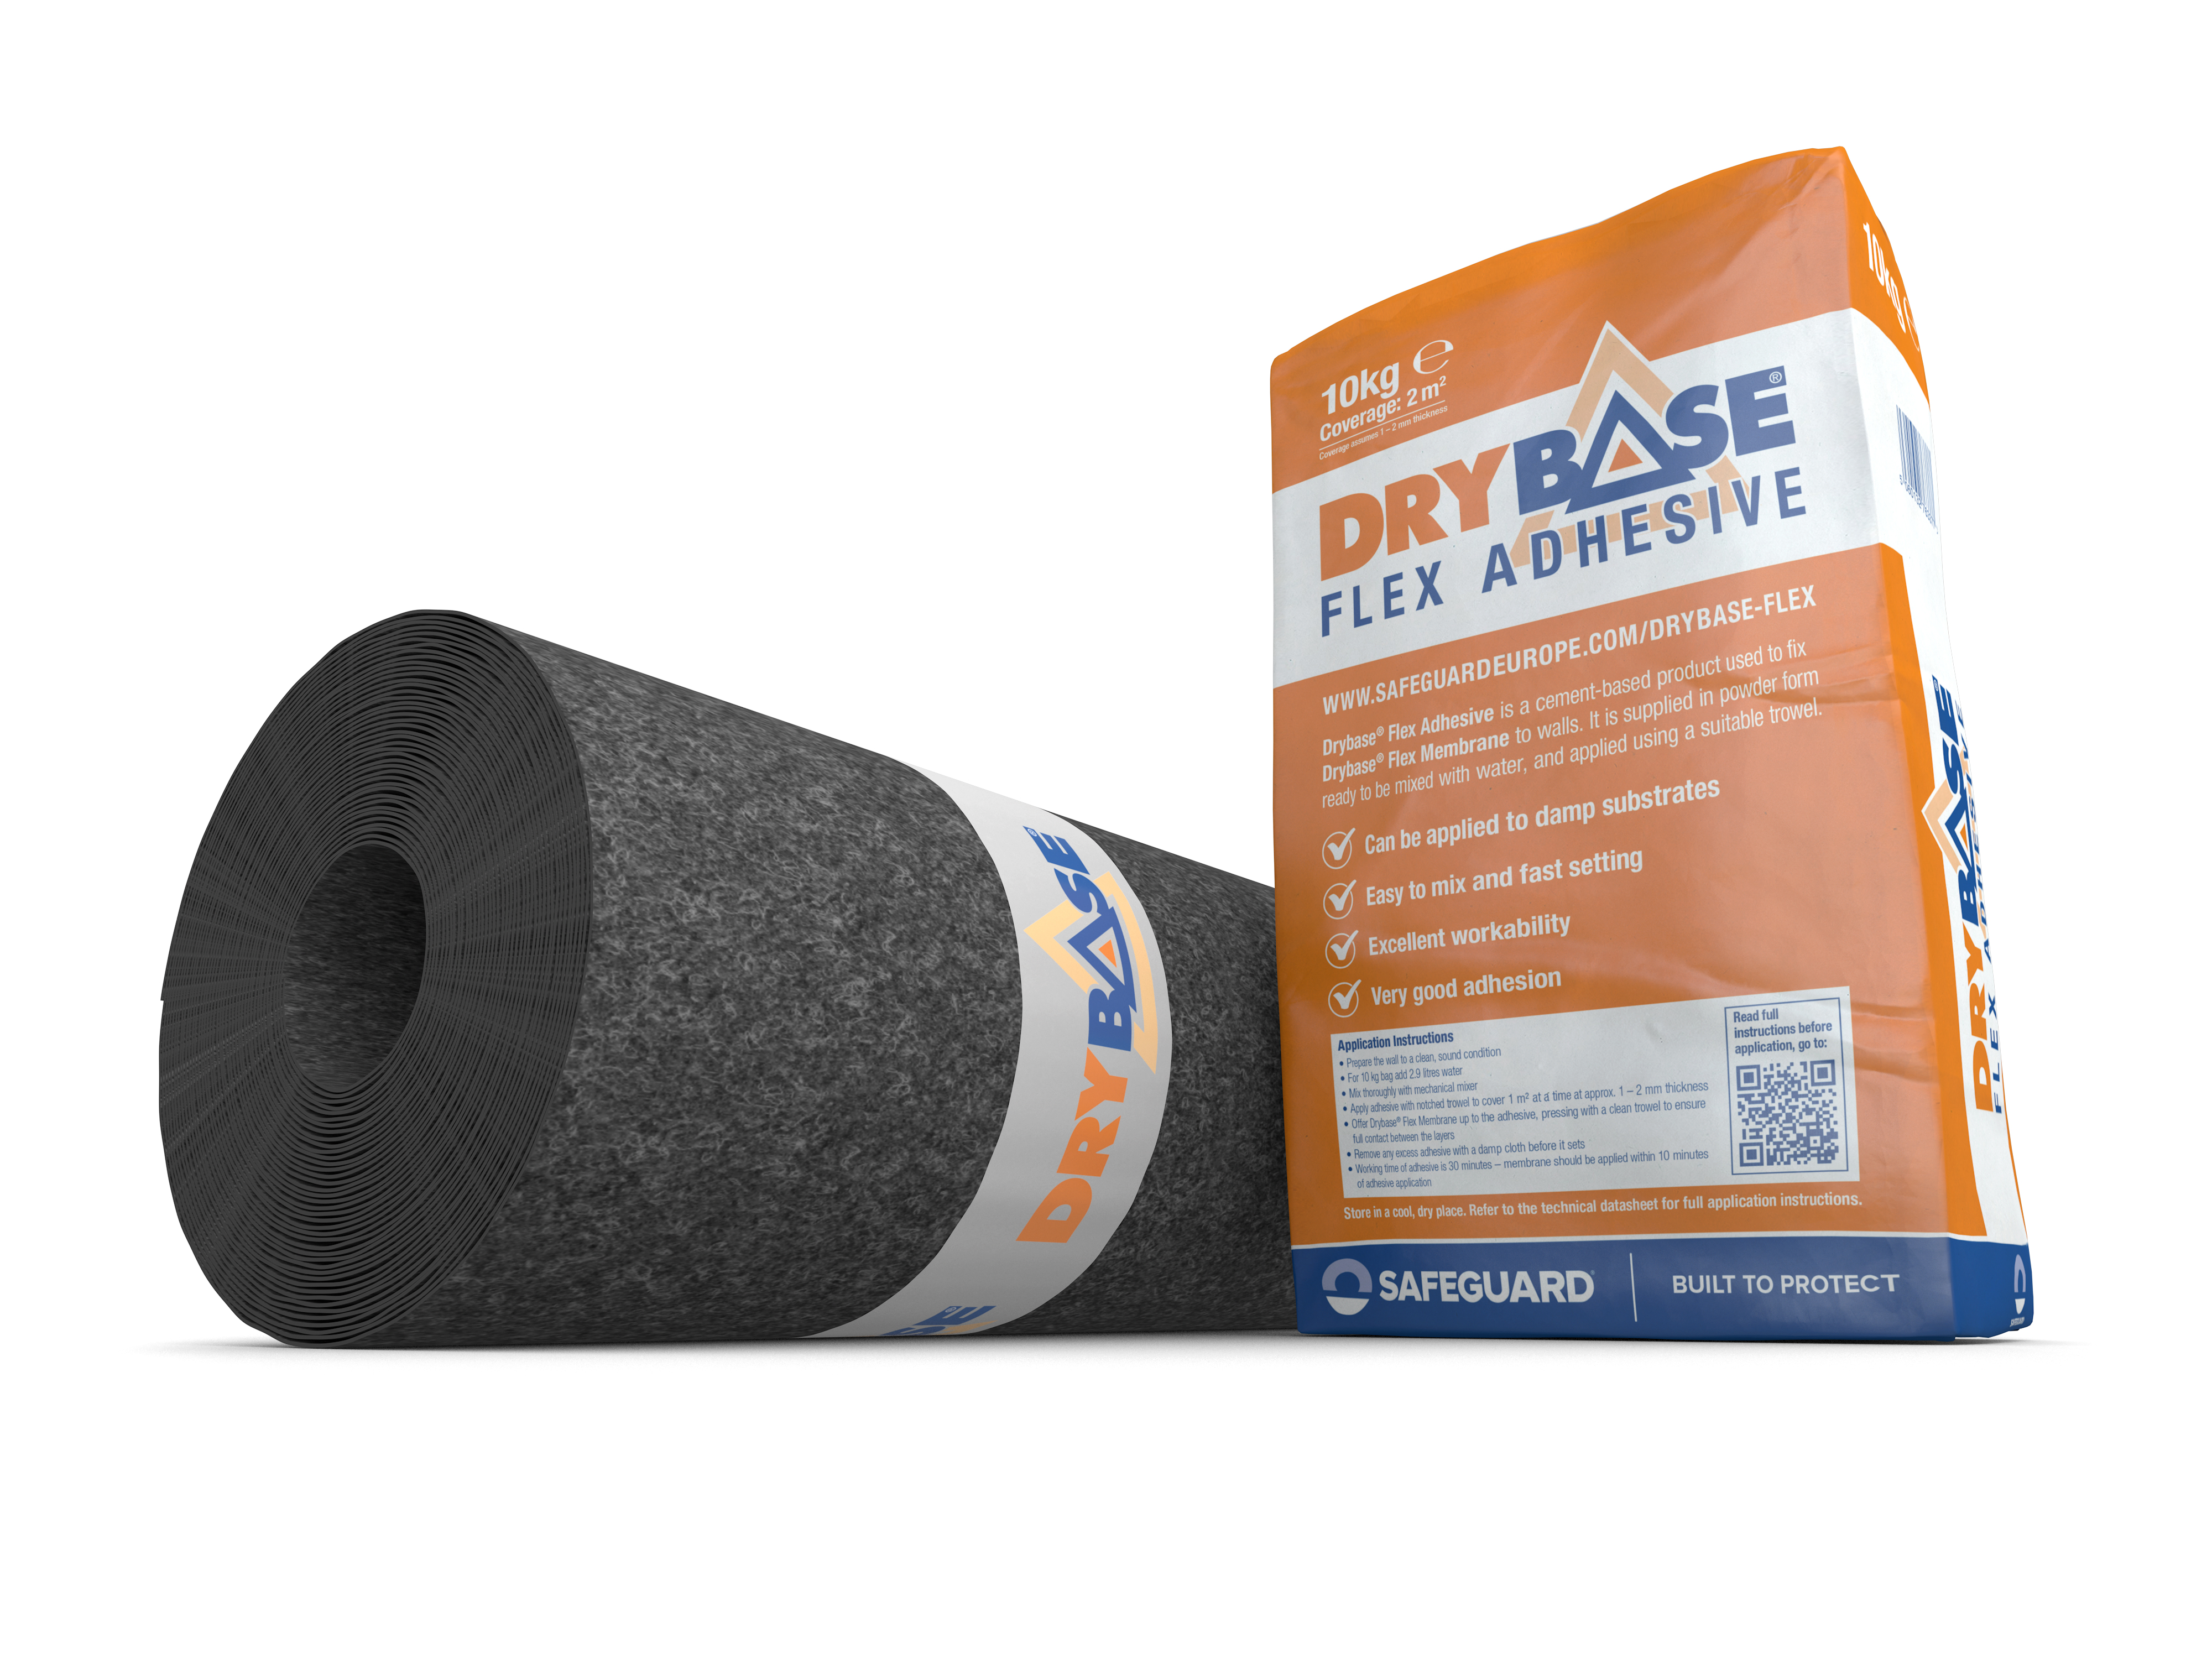
Drybase Flex
| Standards & Accreditations |
|---|

A watertight low-profile sheet membrane for protection against dampness in walls without the need to drill and install plugs. The membrane is a 1.5 mm thick flexible polypropylene sheet with a fleeced surface on both sides. The two fleeces ensure good adhesion to the wall by means of Drybase Flex Adhesive, as well as the direct application of plaster to the face.
Drybase Flex Adhesive
Drybase Flex Adhesive is a polymer modified cement-based product used to fix Drybase Flex Membrane to walls. It is supplied in powder form ready to be mixed with water, and applied using a suitable trowel.
Drybase Flex Application
-
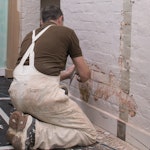
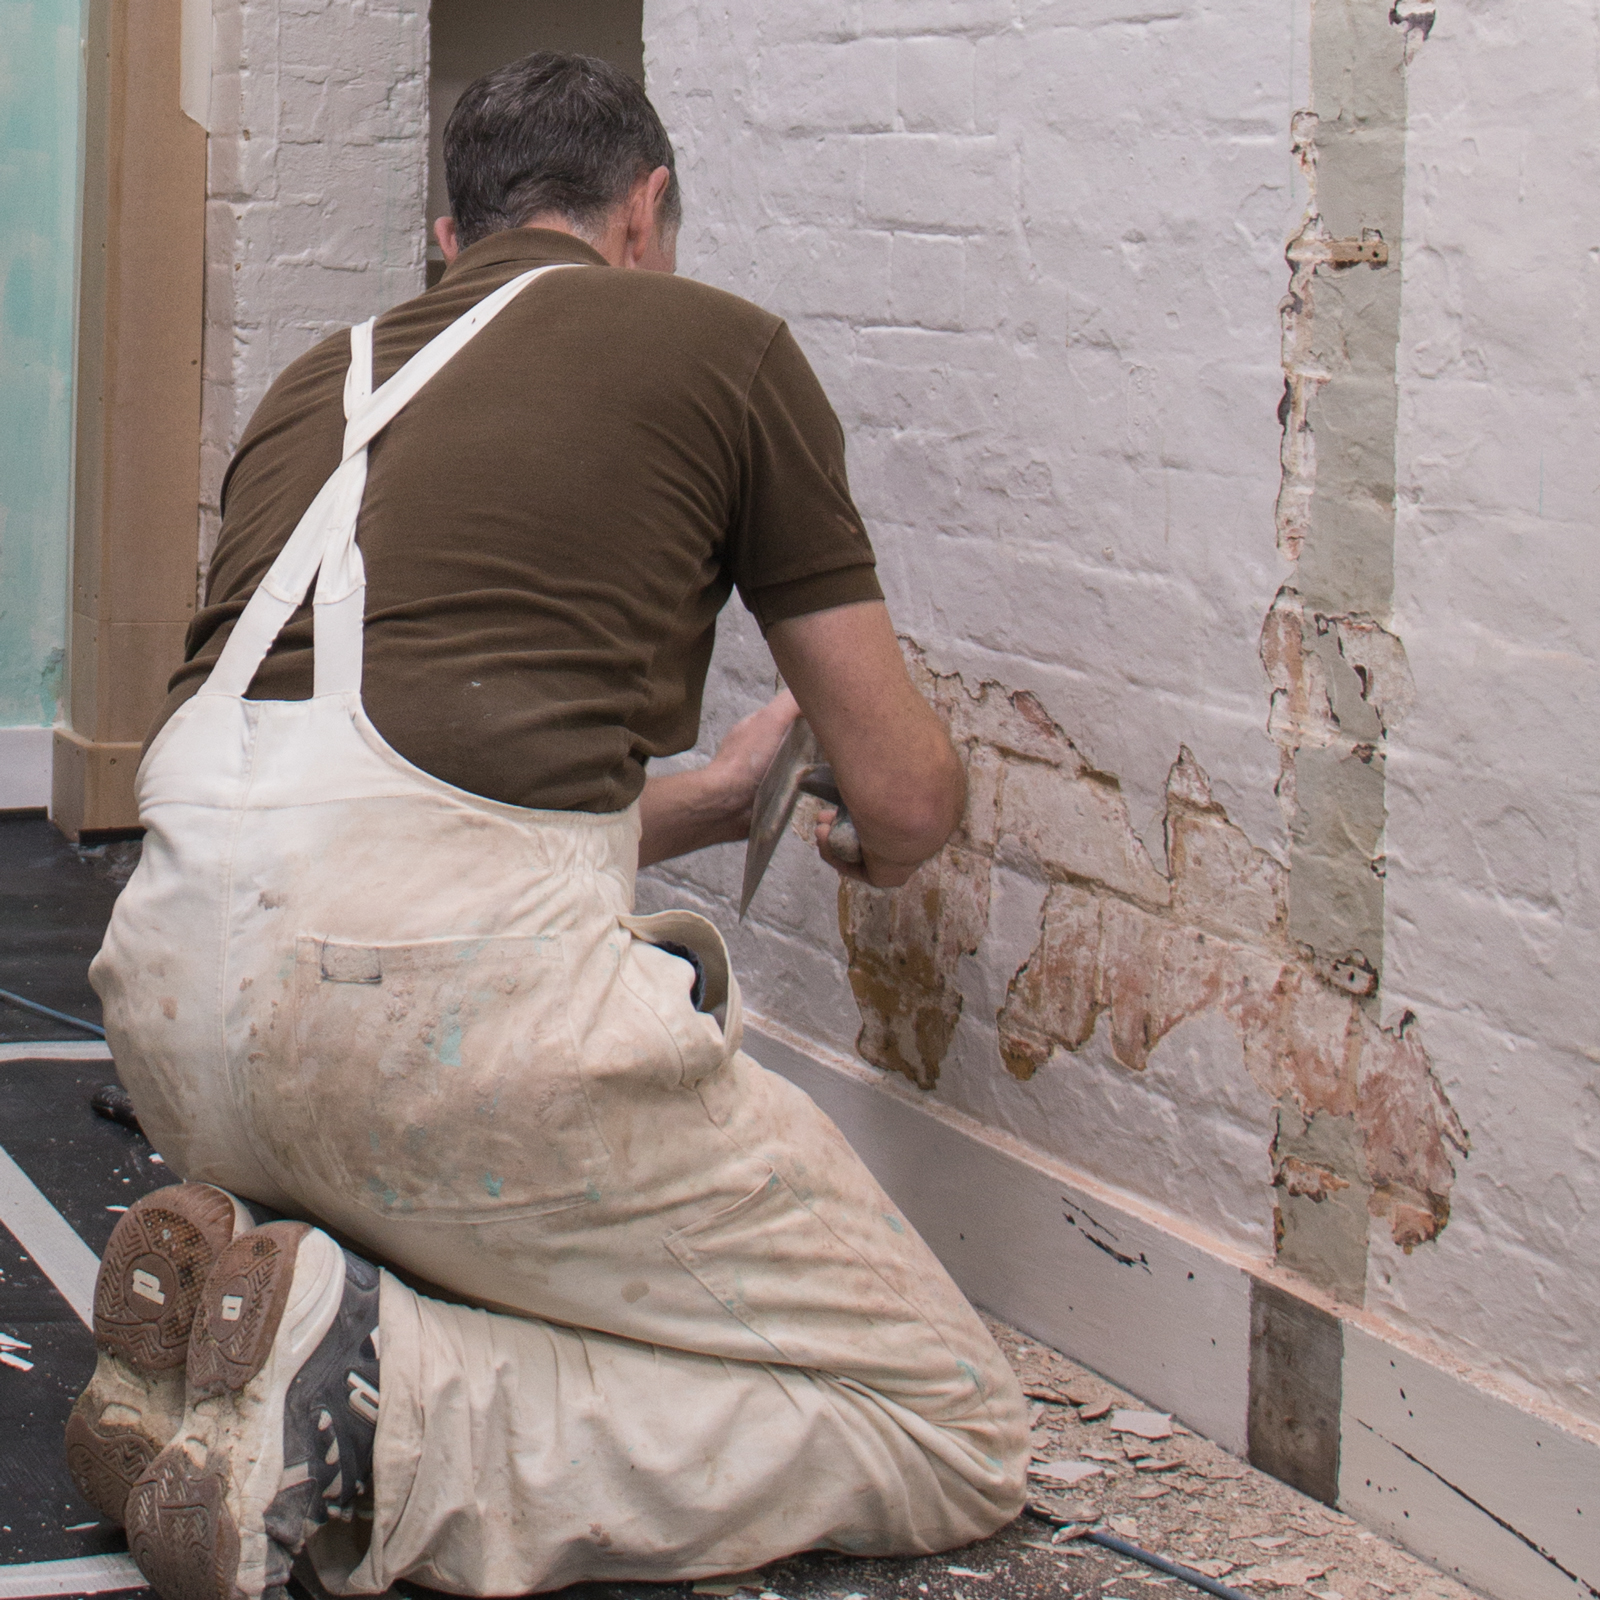
Before Drybase Flex Adhesive can be applied, any structural defects on the substrate must be fixed. Clean the surface of the substrate to ensure maximum bonding of
-
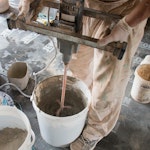
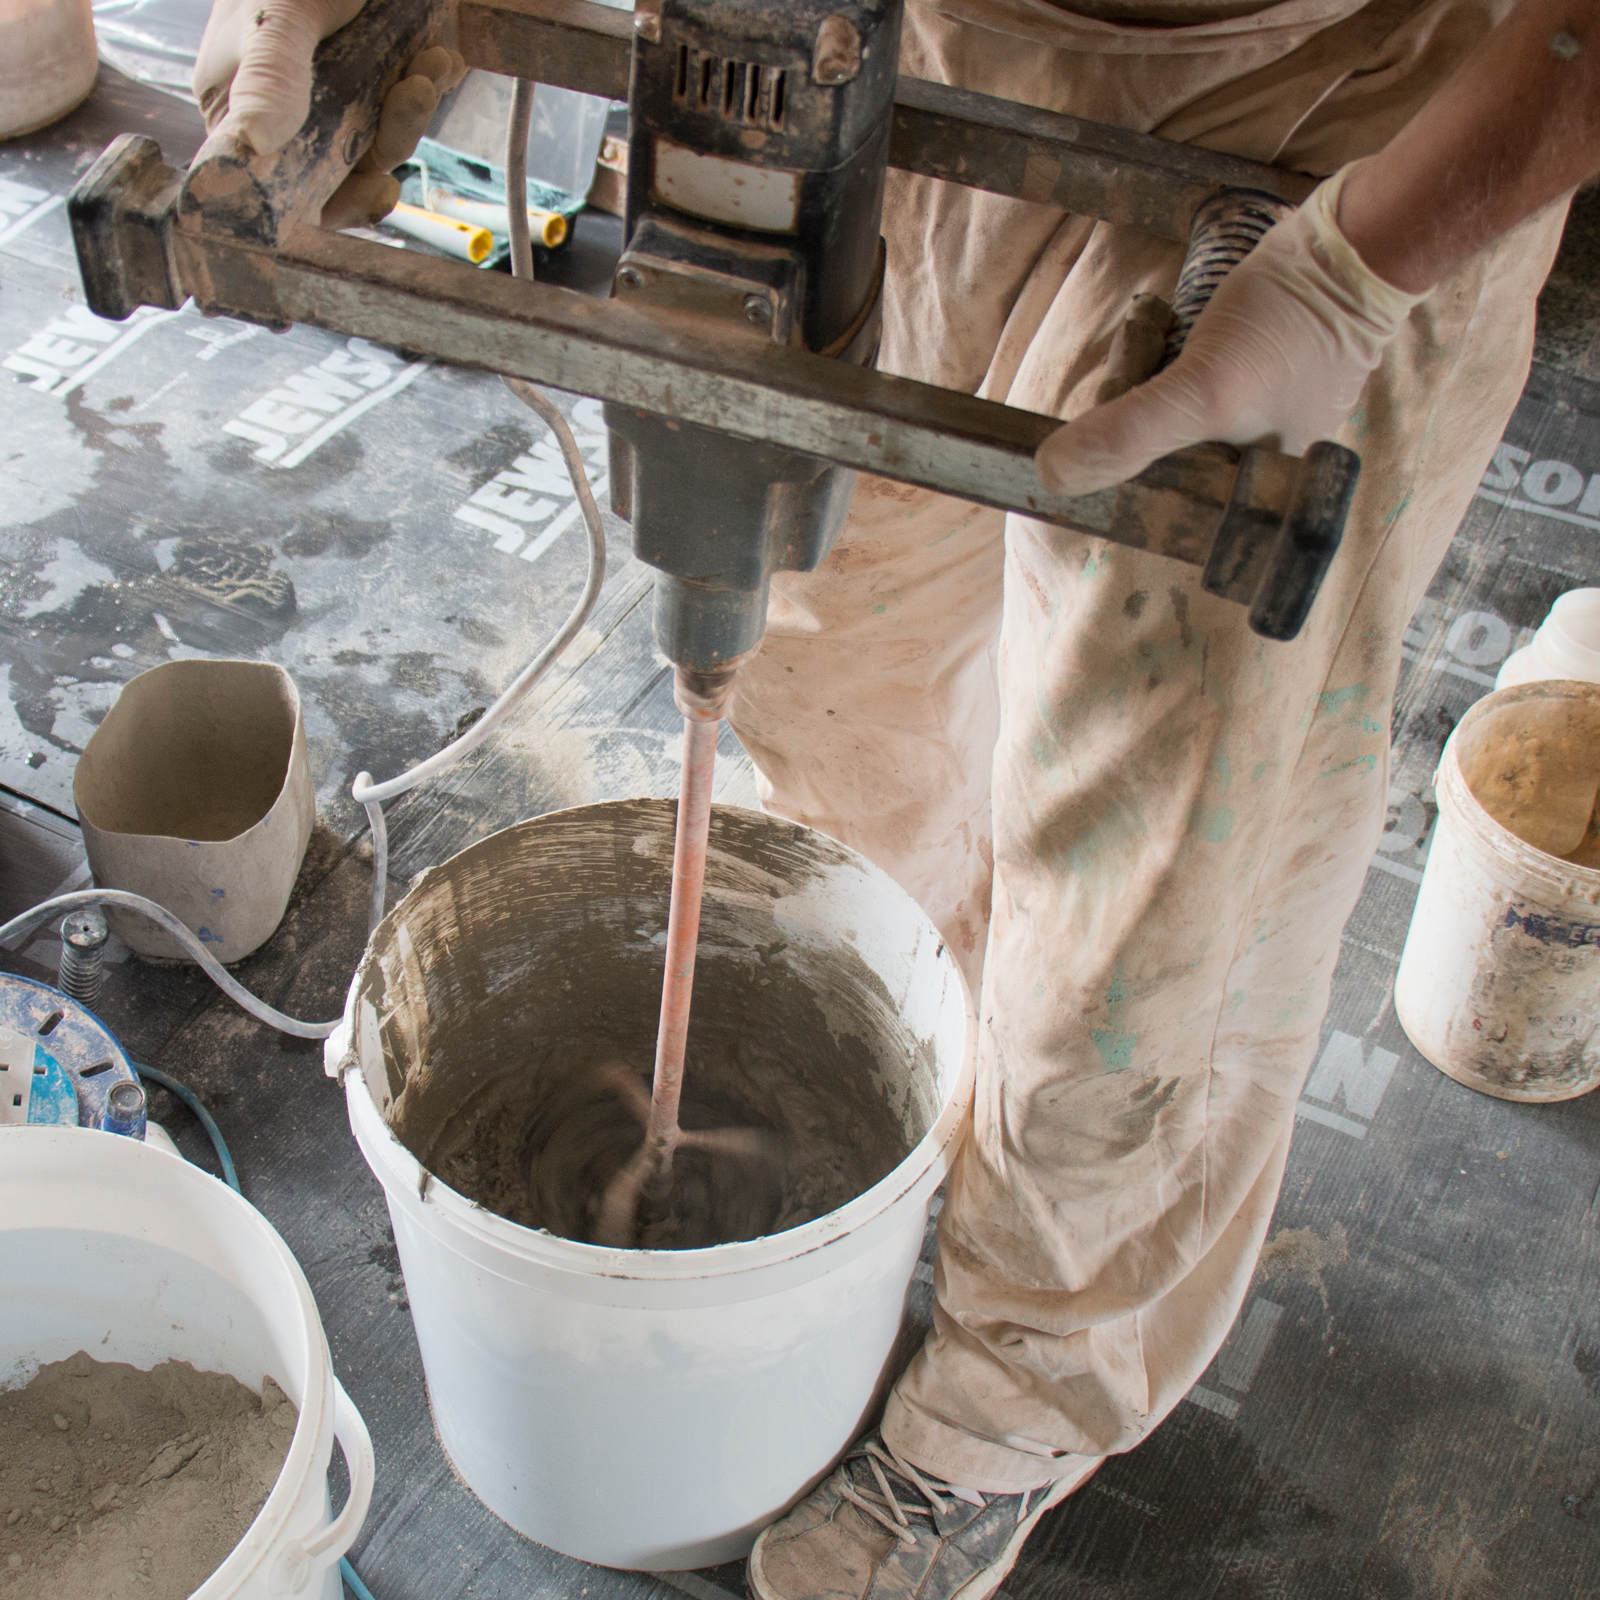
Mix to the ratio 1 part tap water to 3.5 parts Drybase Flex Adhesive by weight (for 10 kg bags, add 2.9 lit
-
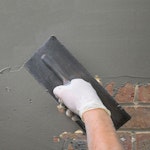
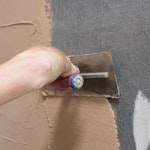
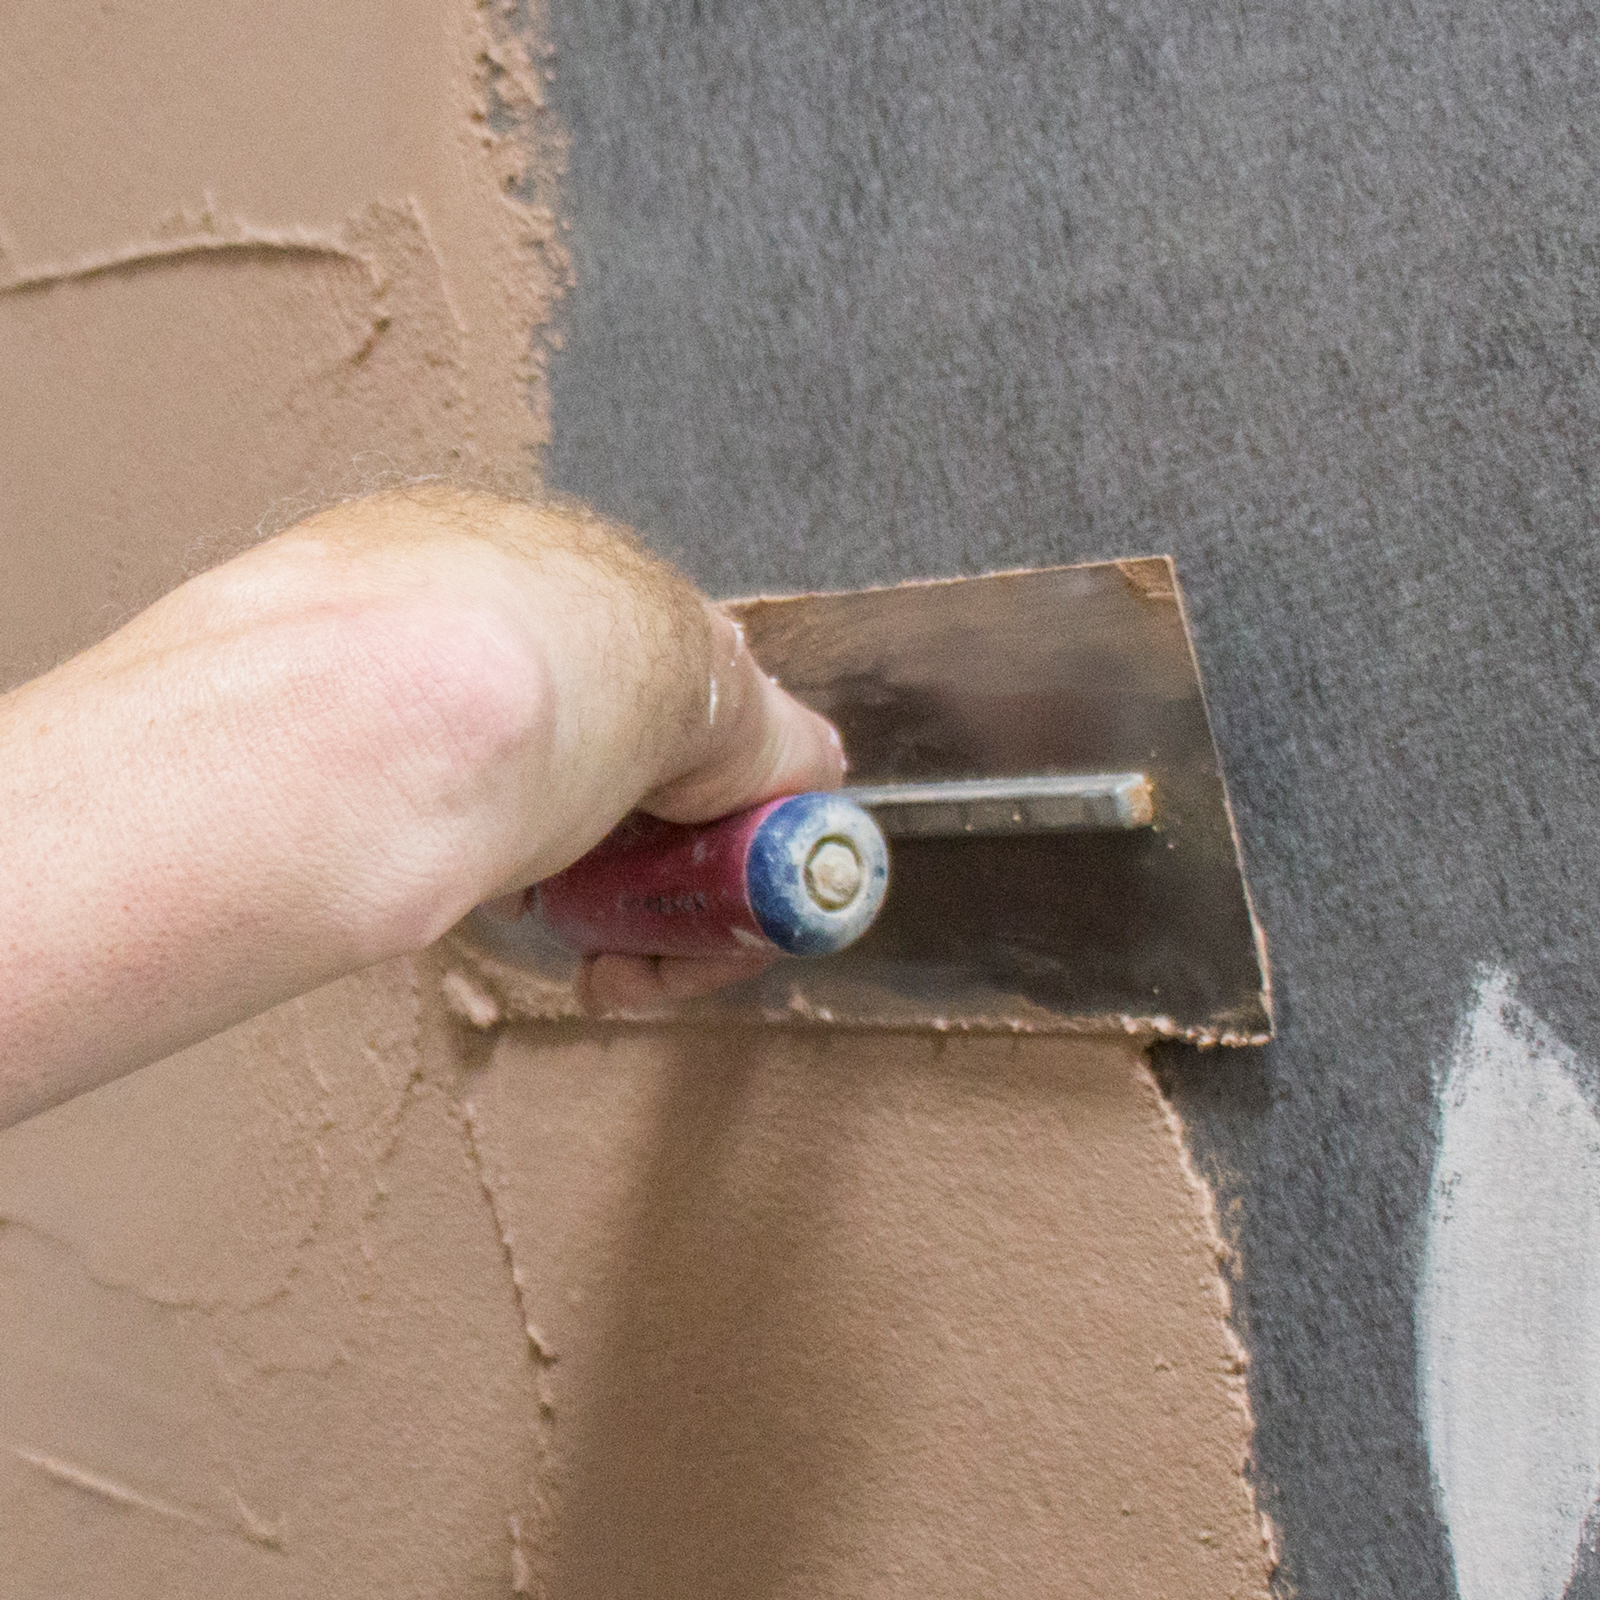
Spread the Drybase Flex Adhesive with a suitable trowel over the face of the wall to cover approximately 1 m2 at a time. The preferred adhesive thickness is 1 – 2 mm.
-
Offer the Drybase Flex Membrane up to the adhesive on the wall and use a trowel to apply gentle pressure spreading from the centre outwards. Make sure there is a 25 mm gap between the floor surface and the membrane (see the Floor-Wall Junction detailing below). Ensure that full contact is established between the membrane and the adhesive. Using a roller may be more suitable to achieve an even pressure.

Note: For details such as overlapping joints, corners, doors, and windows, please refer to the detailing diagrams beneath these instruction steps. -
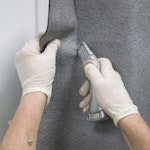
Remove any excess adhesive with a damp cloth before it sets and trim any excess membrane with an appropriate cutting tool.
-
After the adhesive has cured overnight, surface finishes can be applied such as bonding plaster or hardwall plaster; both are suitable for application prior to a skim finish.


Drybase Flex Detailing Diagrams
Overlapping Joints
It is important that joint details prevent the penetration of water. For joining two sections, an overlap is recommended of at least 50 mm width.

Floor-Wall Junction
Apply Drybase Flex Membrane on top of the Drybase Flex Adhesive, leaving a 25 mm gap between the bottom of the membrane and the floor.

Corners
Apply Drybase Flex Adhesive up to the wall joint and 100 mm onto the abutting wall. Apply Drybase Flex Membrane up to the wall joint.

Windows
When plastering around a window, Drybase Flex Adhesive and Drybase Flex Membrane should both be applied up to and around the window frame and window sill.
Doors
Apply both the adhesive and membrane up to the door.