Dryzone Express Replastering

The Dryzone Express Replastering System combines the power of our patented Dryzone Damp-Proofing Cream with a modern fast-track replastering system. It was created with the following design criteria:
- As effective as sand:cement
- Faster than sand:cement
- Cleaner than sand:cement
- Warmer surface than sand:cement
- Less damage to heritage sites than sand:cement
- Lower applied cost per m2 than sand:cement
- Breathable
Why Rethink Replastering?
Dryzone Damp-Proofing Cream revolutionised the treatment of rising damp when it was launched in 2000. It was faster to install, less messy, and provided a more reliable barrier to rising damp than conventional damp-proofing systems.
However, it was still used in conjunction with an industry standard sand:cement replastering system that was slow and expensive to install, was unpopular with homeowners and heritage bodies and could often result in a cold wall surface that could be vulnerable to condensation.
How does The Dryzone Express Replastering System compare to current practices?
| Current Practice | The Dryzone Express Replastering System | |
|---|---|---|
| Locks salts away | Yes | Yes |
| Creates a smooth surface | Yes | Yes |
| Installation complete within 24 hours | No | Yes |
| Redecorate immediately | No | Yes |
| Increased thermal resistance | No | Yes |
What does The Dryzone Express Replastering System comprise of?
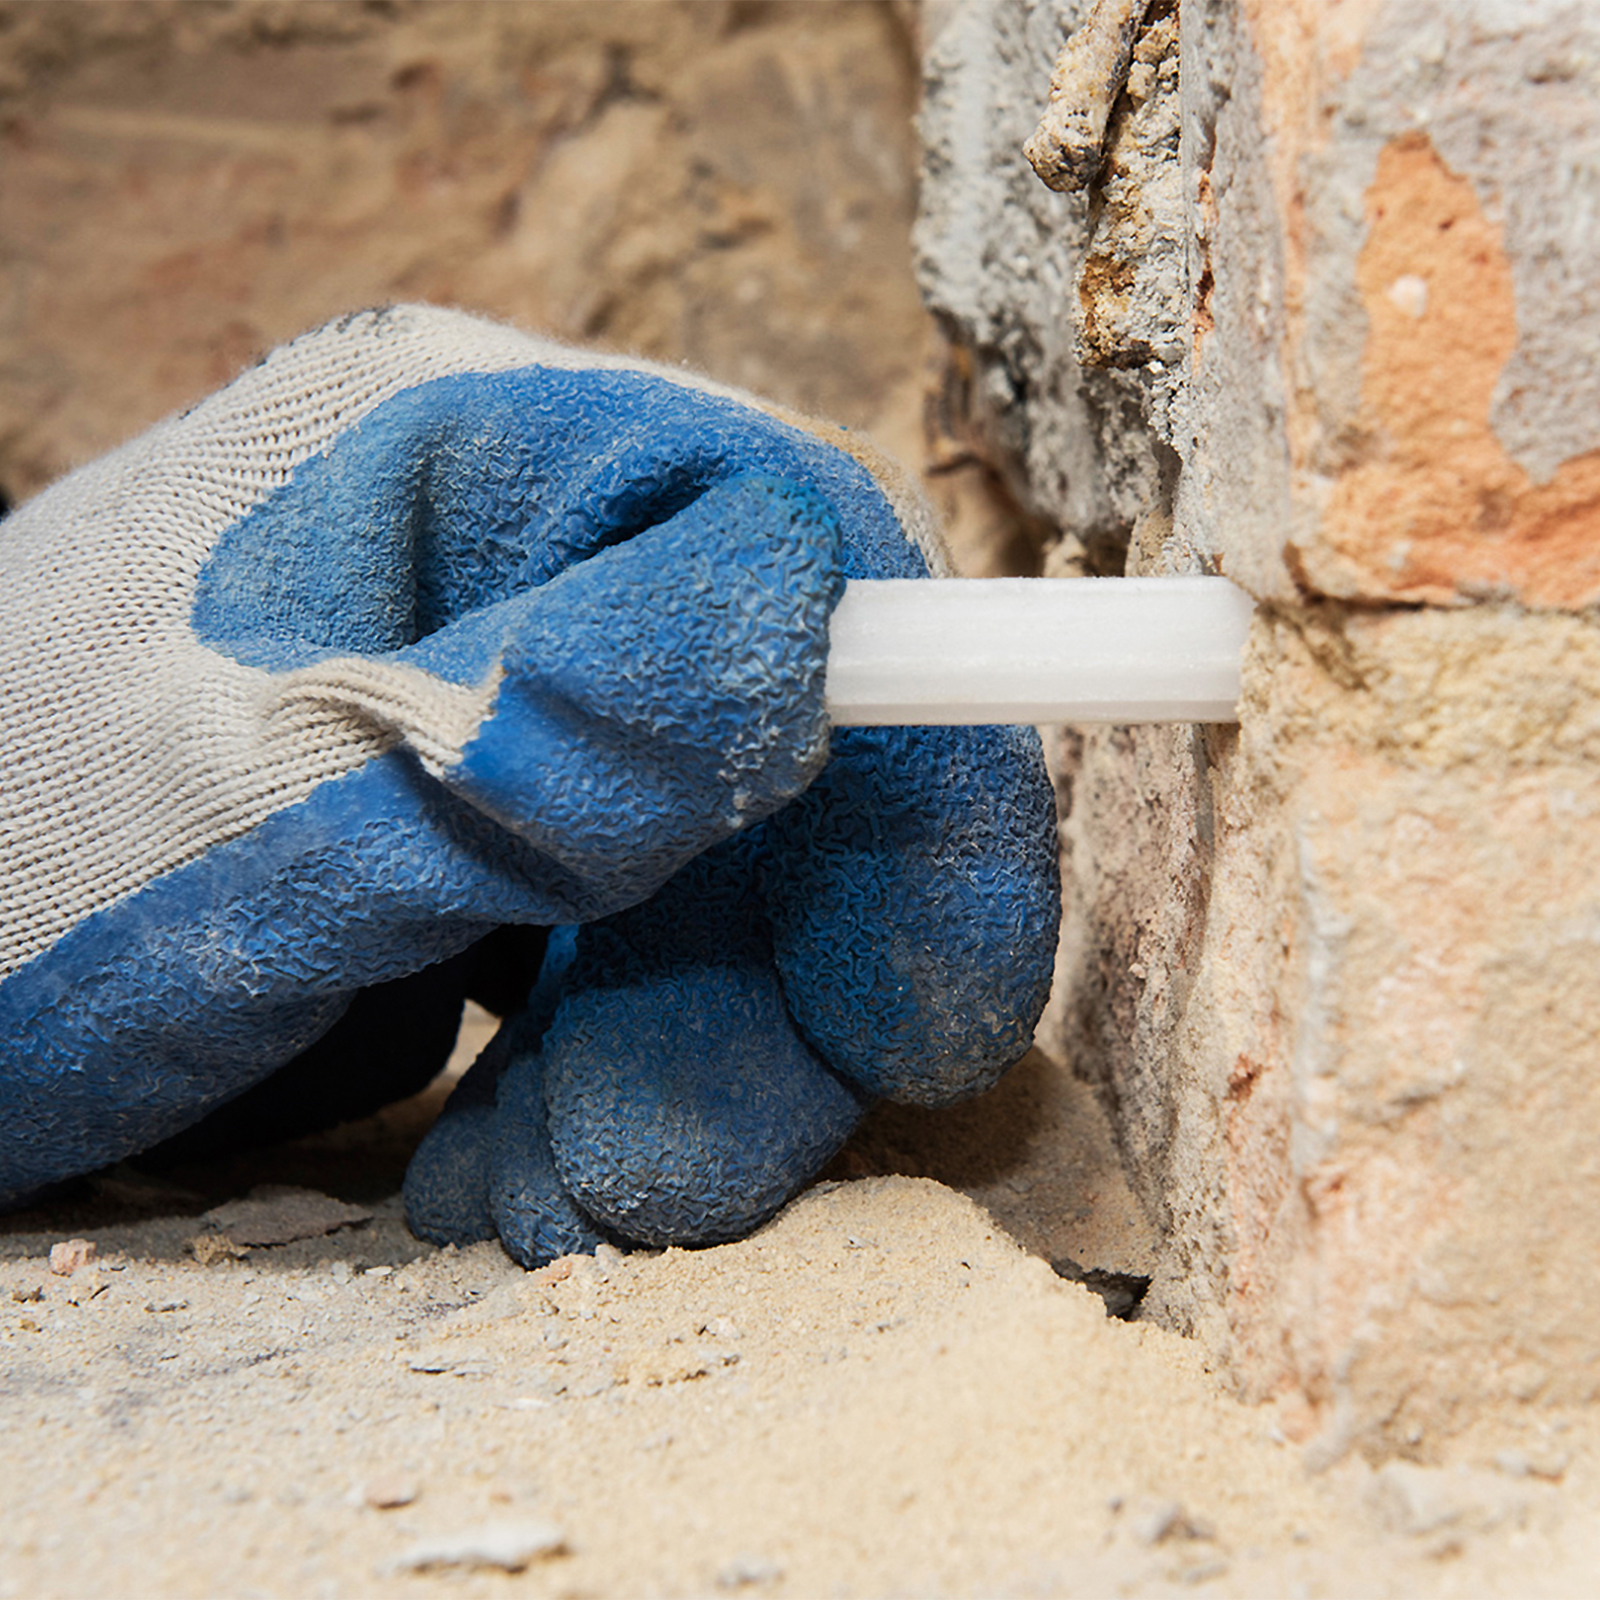
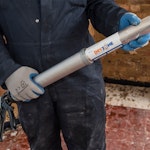
Dryzone Damp-Proofing Cream / Dryrod Damp-Proofing Rods
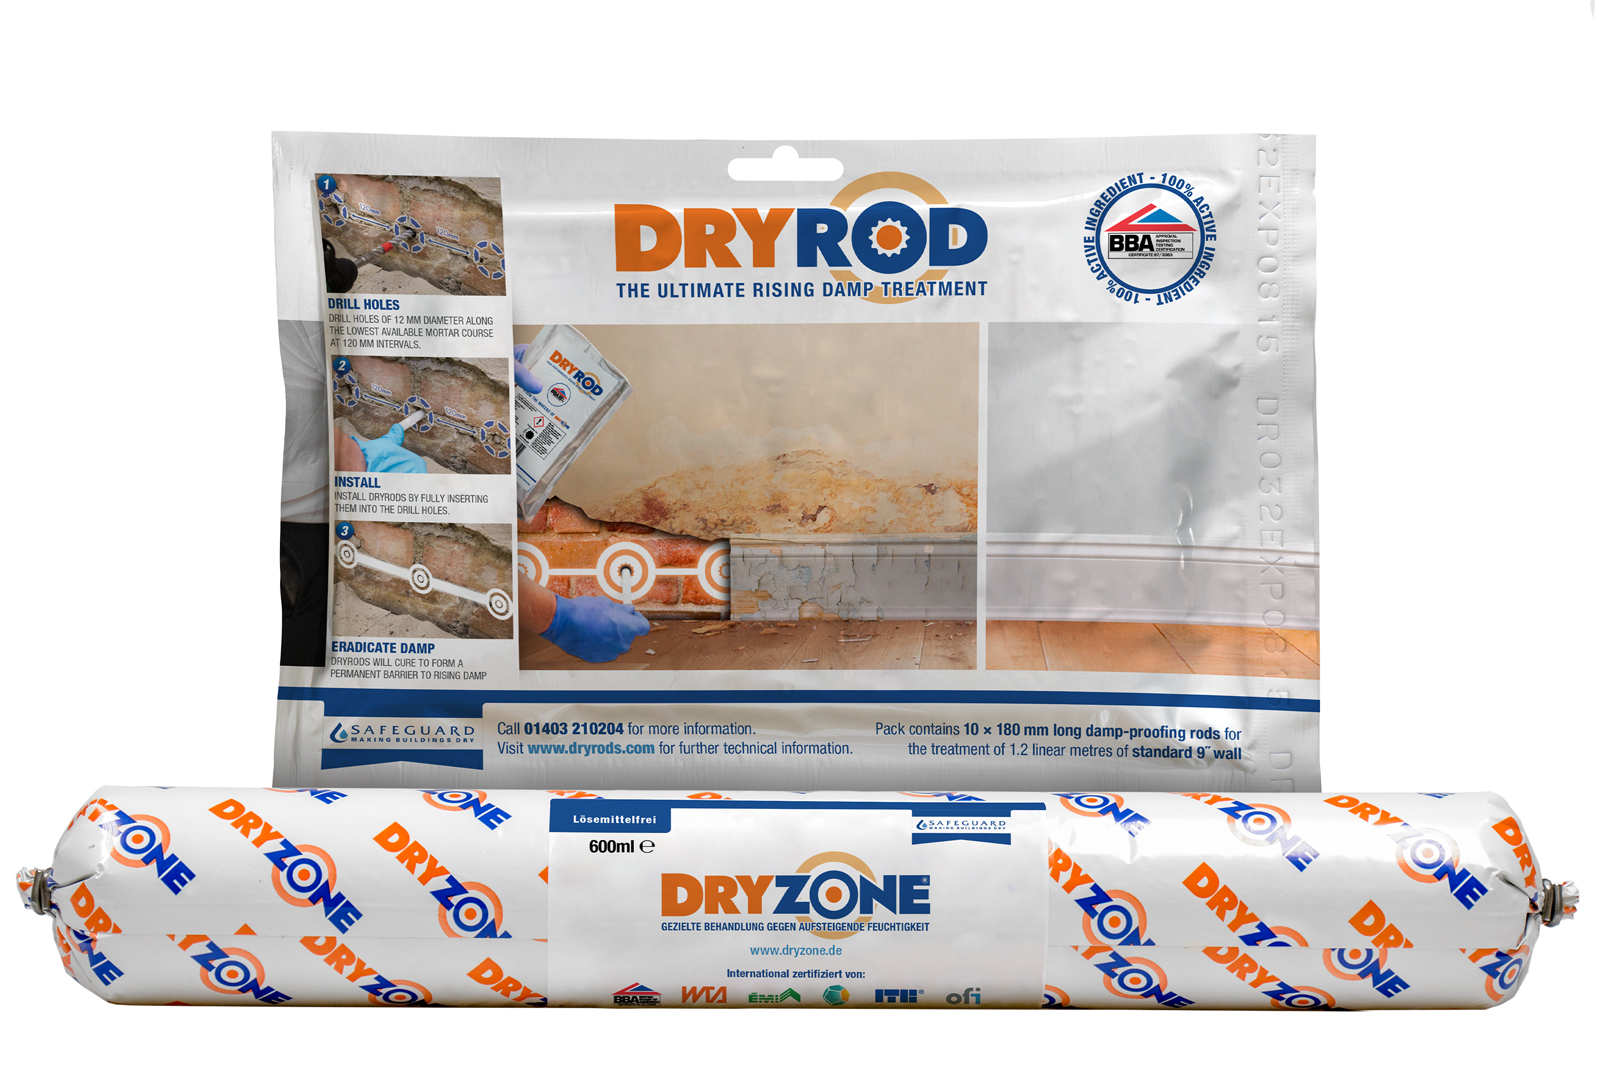
Dryzone Damp‐Proofing Cream and Dryrod Damp‐Proofing Rods offer an effective treatment for rising damp in walls of all types. Both products have been independently tested and proven to form an effective damp‐proof course in existing walls.
- Stop the source of rising damp
- Simple and clean application
- Effective in both new (alkaline) and old (neutral) mortar
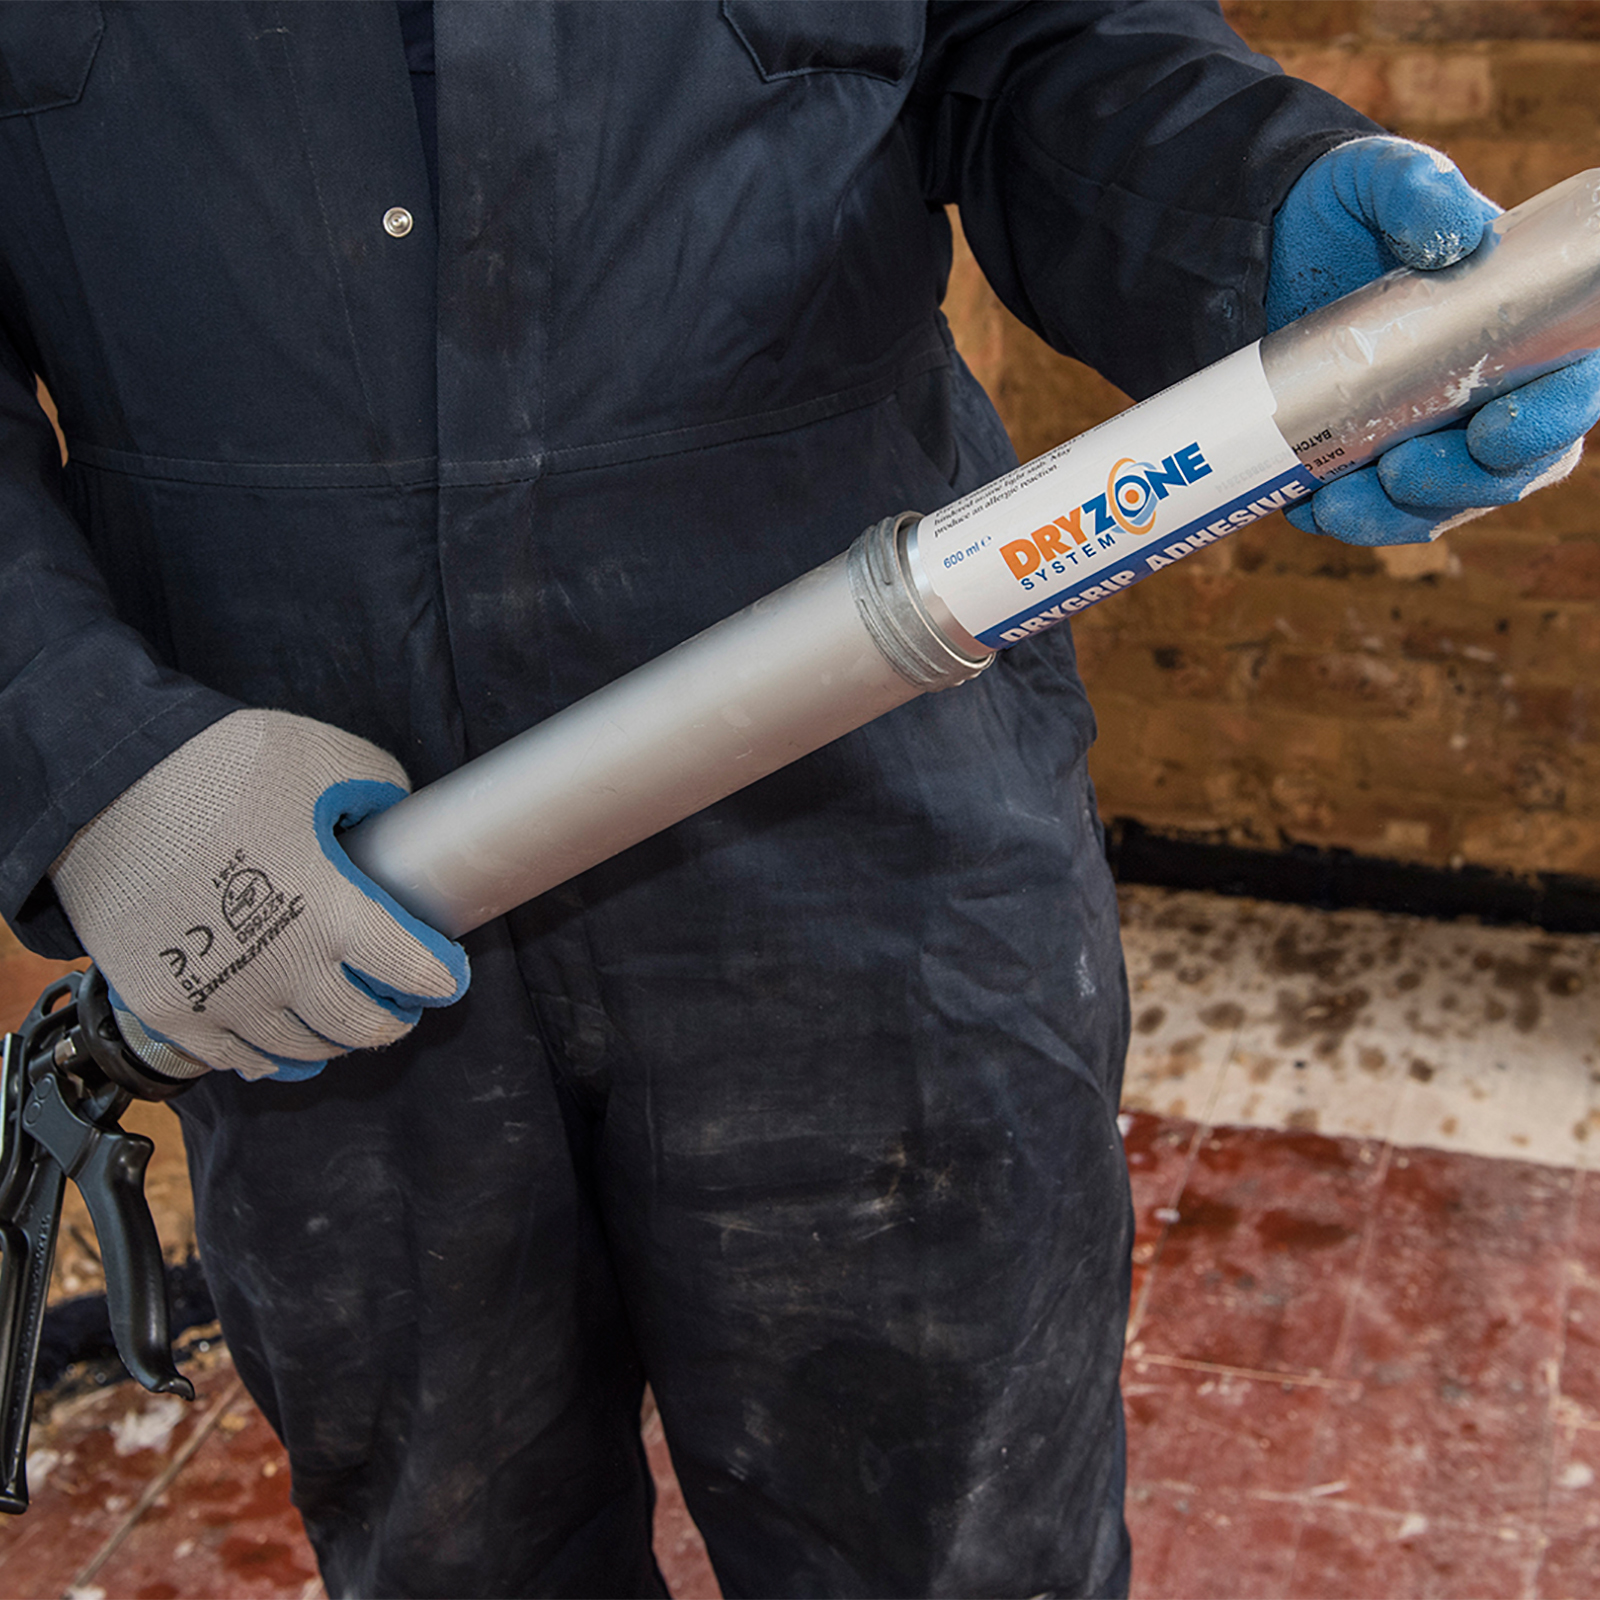
Drygrip Adhesive

A salt and damp-resistant adhesive glue for fixing plasterboard directly to masonry surfaces. Provides excellent bonding characteristics to the substrate.
- High moisture resistance
- Strong resistance to effects of salt on masonry
- Forms a strong and long-lasting bond between masonry and plasterboard
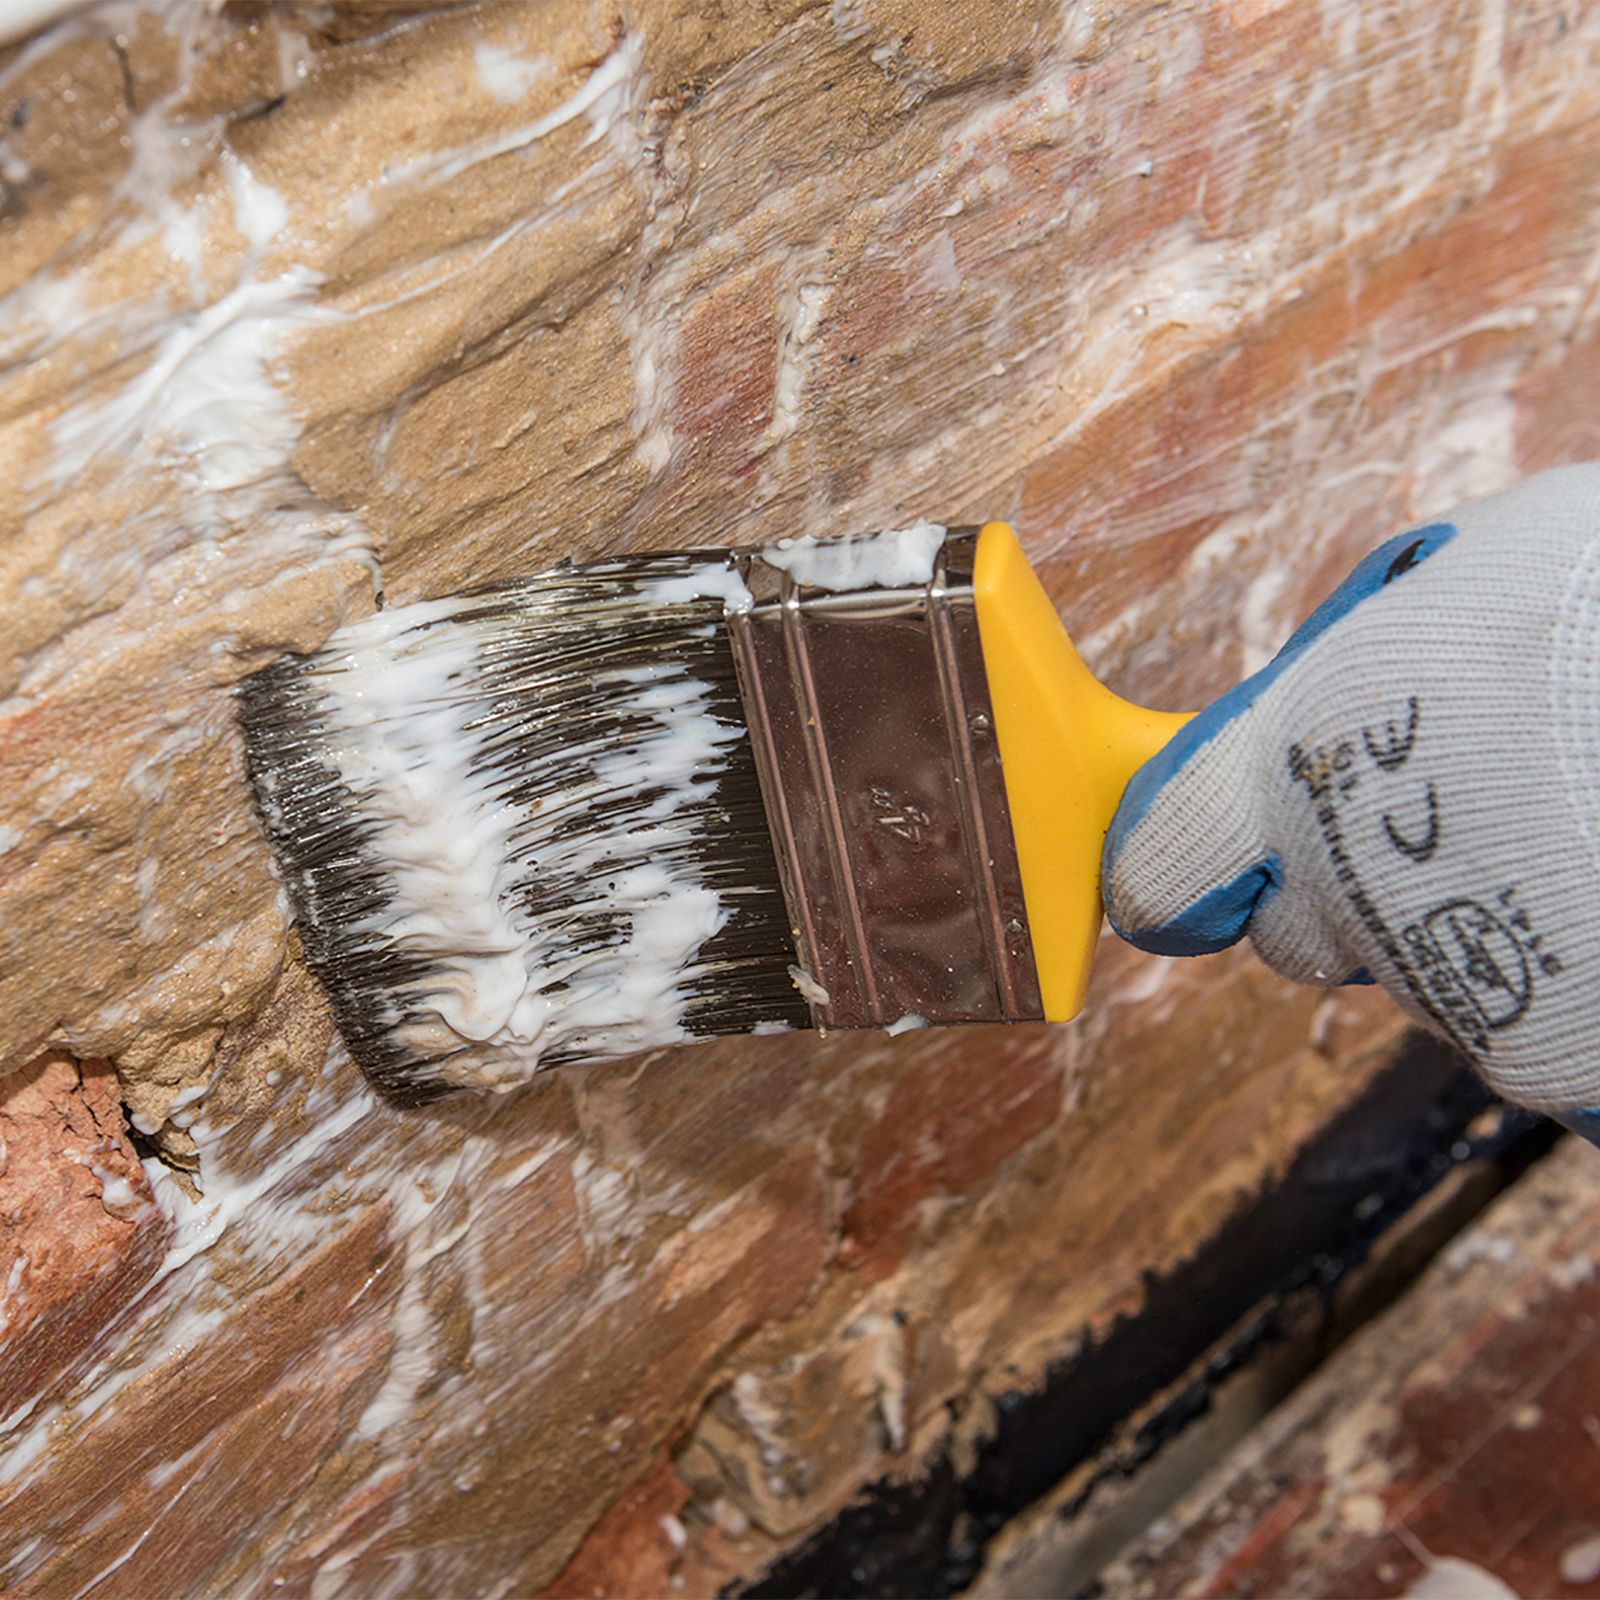
Dryshield Cream

A breathable, salt-resistant water-repellent that acts as a primer for Drygrip Adhesive. Applied to walls contaminated with rising damp, the cream greatly weakens the crystal strength of salts forming in or at the masonry surface as damp evaporates. Acts as a primer for Drygrip Adhesive.
- Breathable and long-lasting formulation
- Deeply penetrates to form a durable bond with the masonry structure
- Easy to apply by brush or roller
Application Instructions
Wall Thickness
| 4½″ (115 mm) | 9″ (230 mm) | 13½″ (345 mm) | 18″ (460 mm) | |
|---|---|---|---|---|
| Depth of Drill Hole | 95 mm | 210 mm | 325 mm | 440 mm |
| Drill Hole Intervals | 120 mm | 120 mm | 120 mm | 120 mm |
-
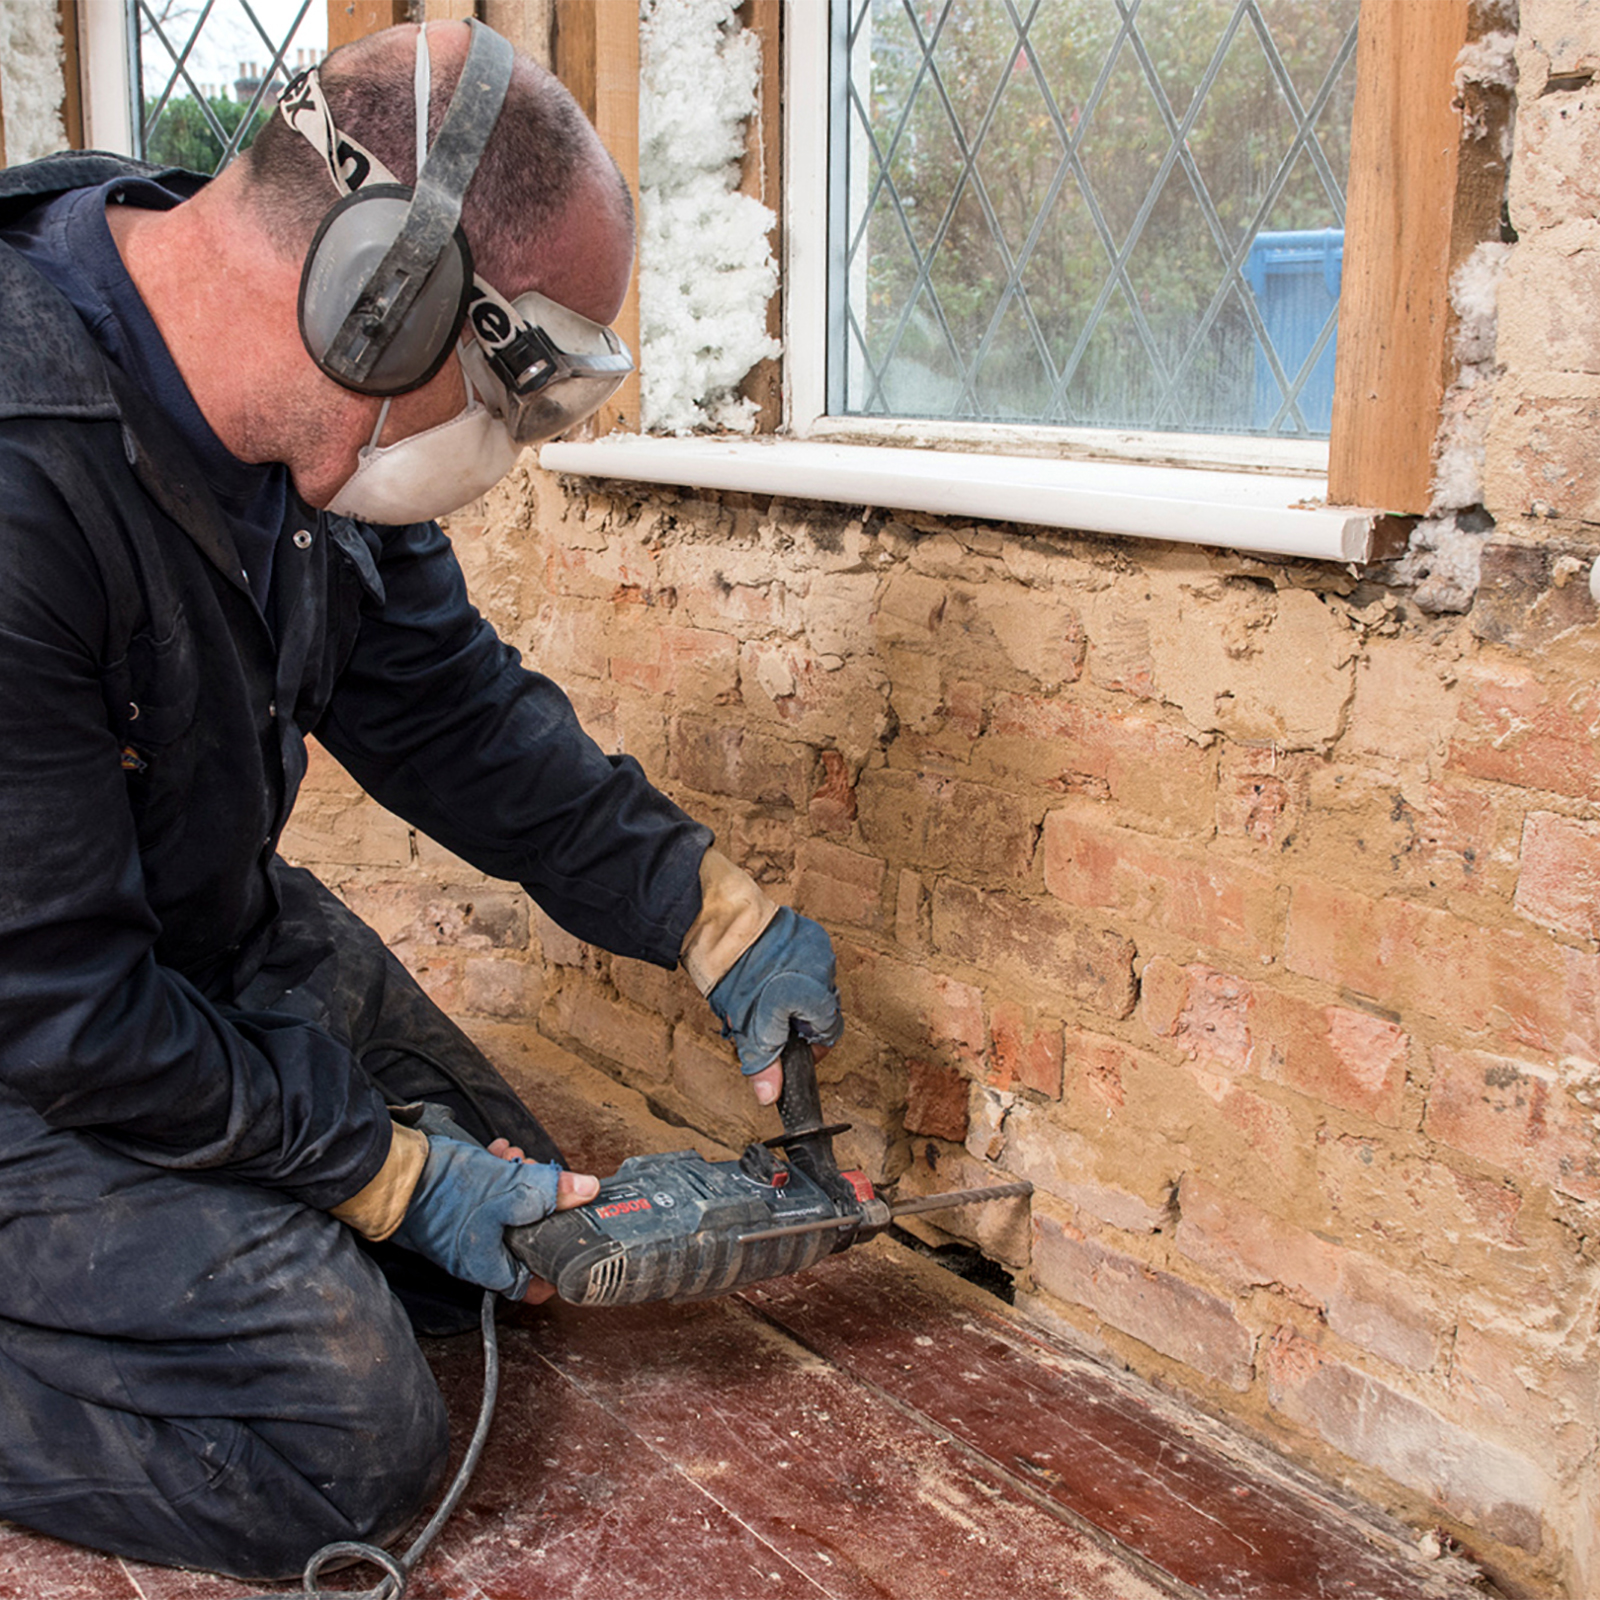
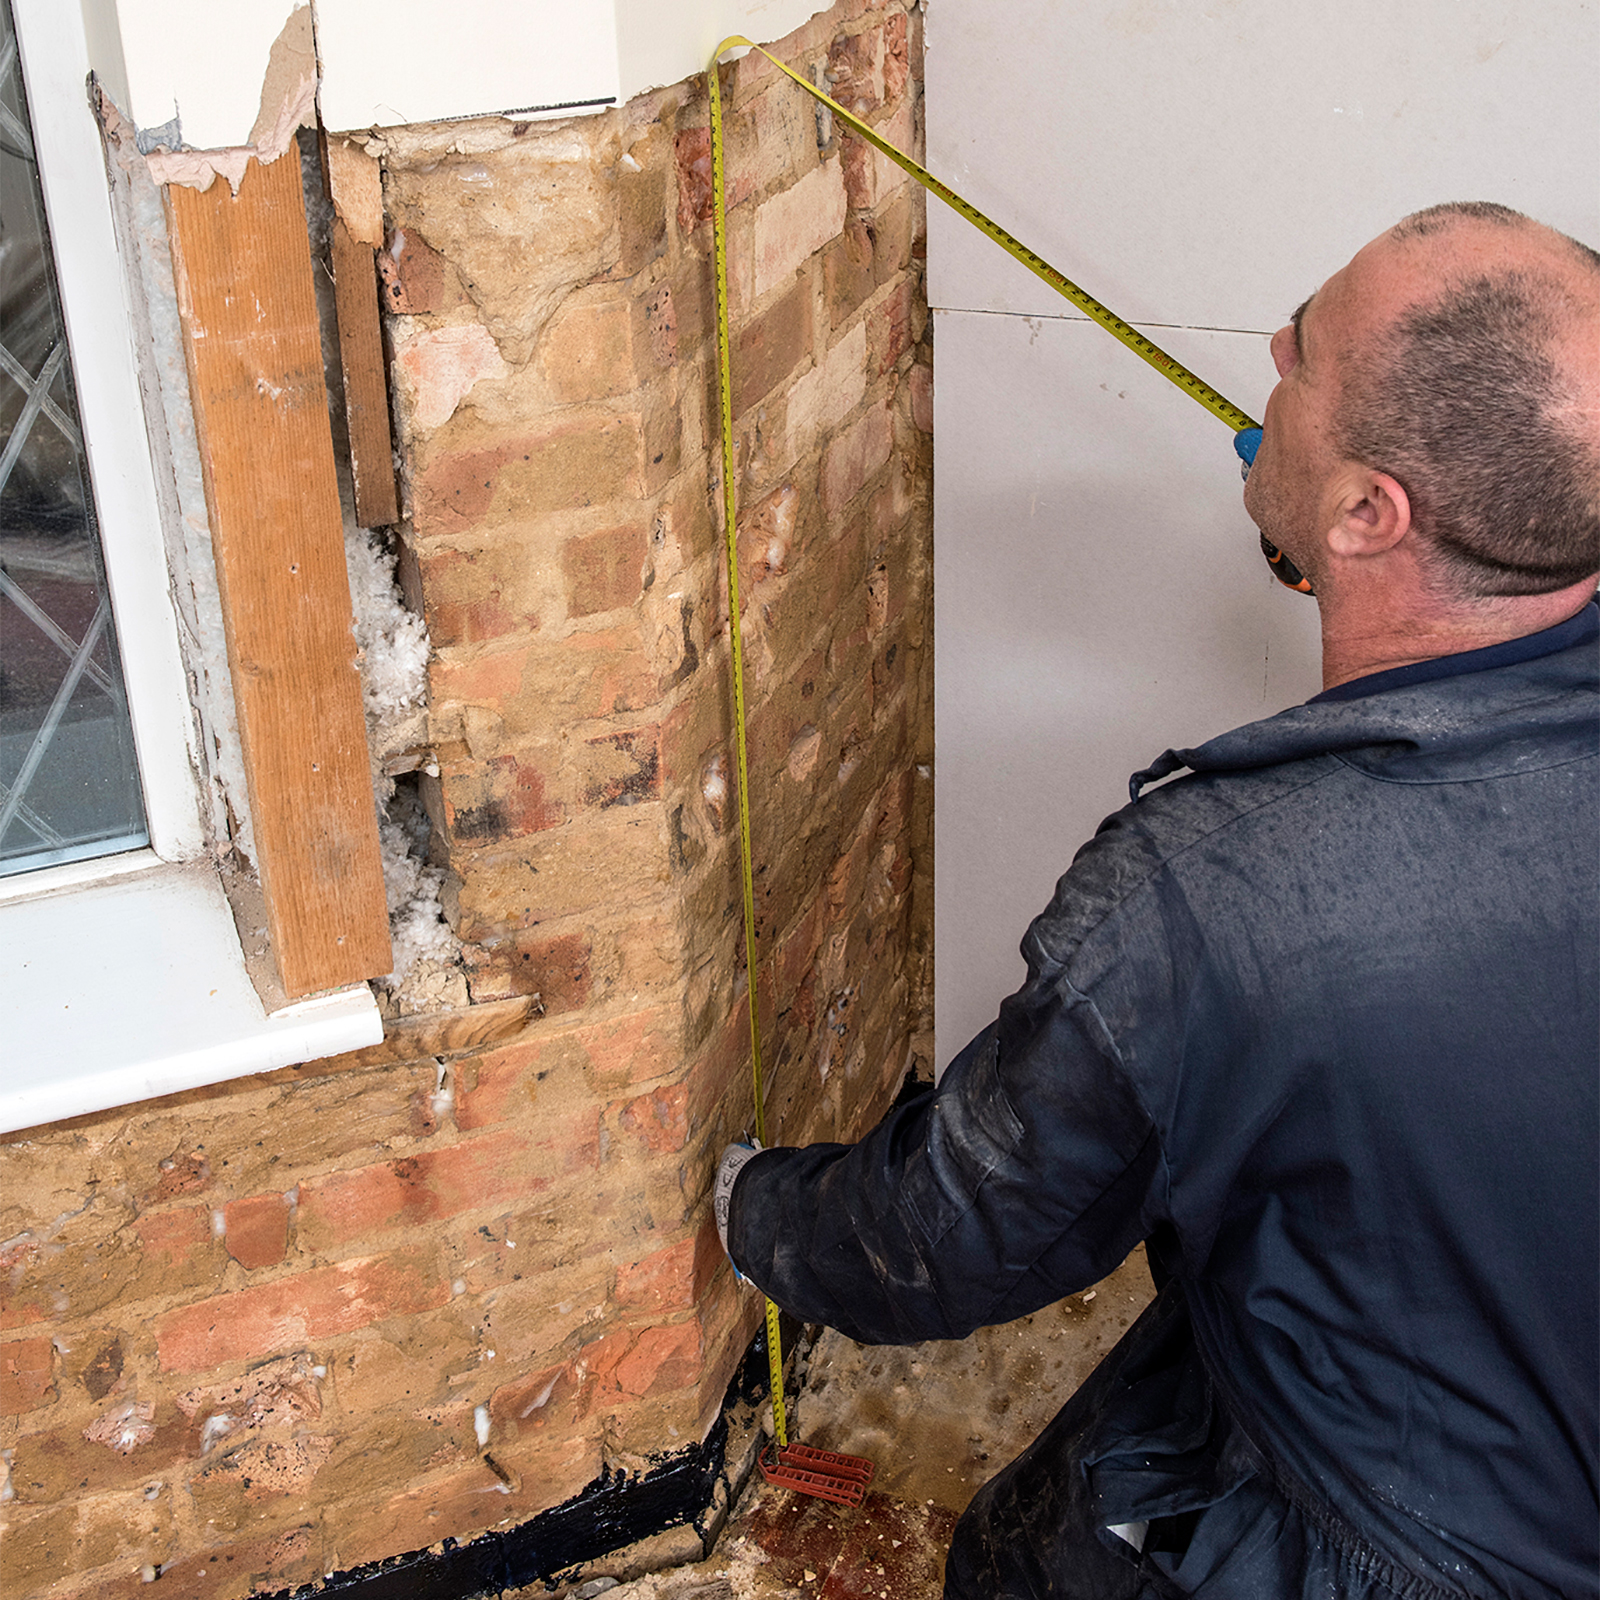
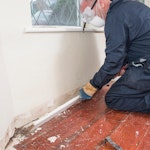
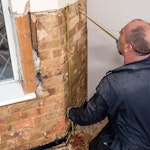
Remove any architraves and skirting boards that are in the way of treatment, e.g. if a skirting board is covering some contaminated plaster.
-
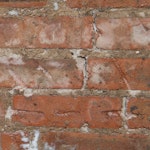
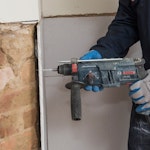
Fully remove all contaminated plaster, exposing the underlying masonry. All loose material should be fully removed by brushing clean.
-
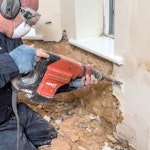
To prepare for the installation of a DPC, drill holes to the appropriate depth (refer to Table 1 above) at 120 mm intervals along the lowest accessible mortar course.

-
If debris is obstructing the installation of the DPC, re-drill the holes to remove any excess material. If debris continues to obstruct the DPC installation, the Dryzone System Hole Clearing Tool can be used to ensure the hole is completely clear.
-
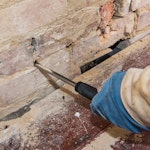
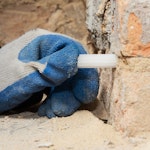
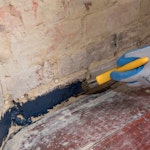
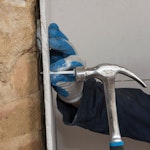
Proceed with the installation of Dryzone Damp‐Proofing Cream or Dryrod Damp‐Proofing Rods as per normal.
-
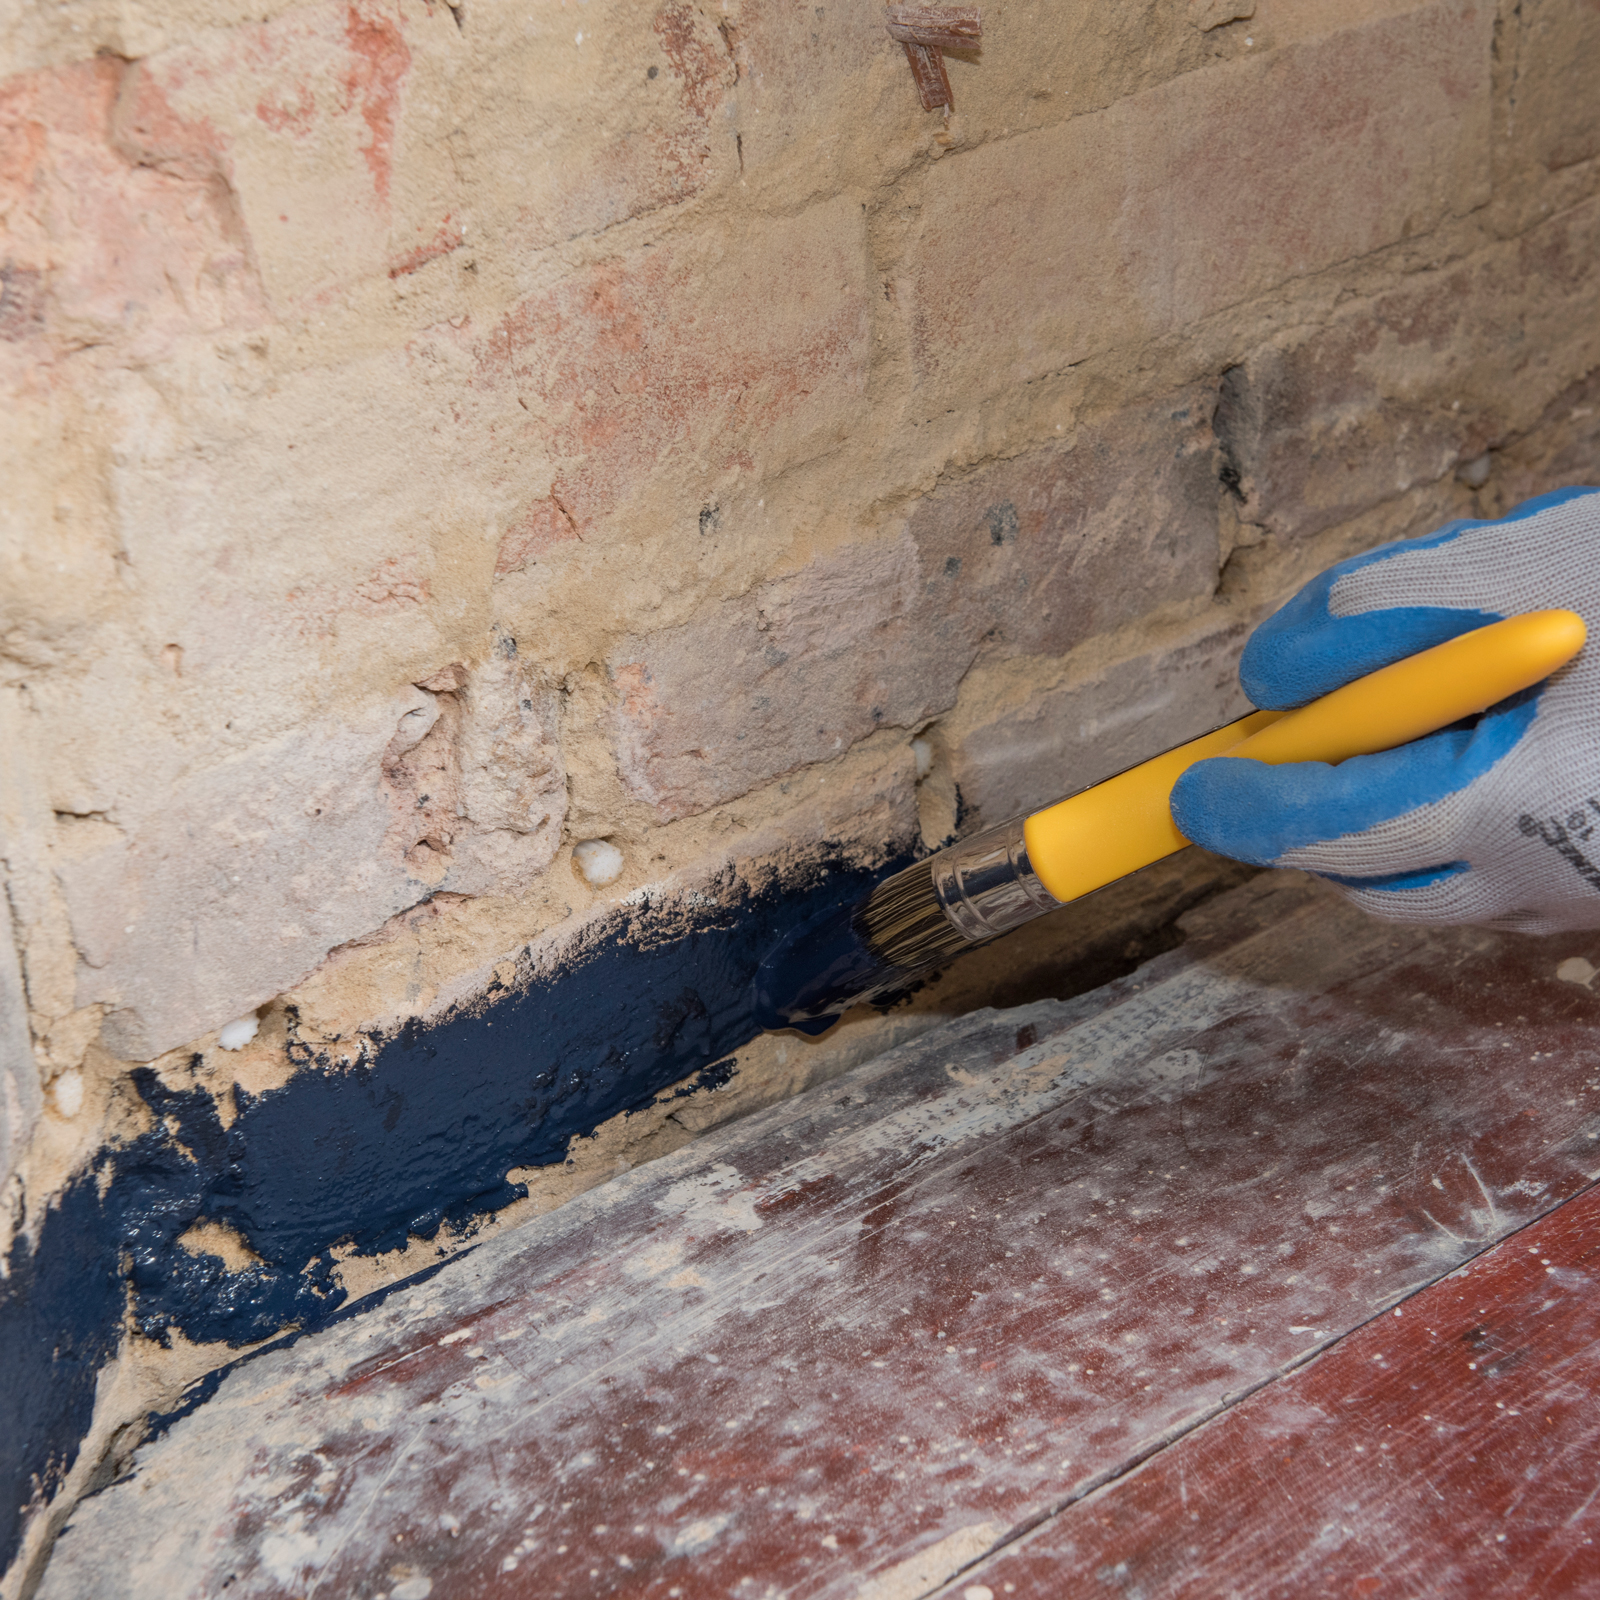
Prime the lower portion of the wall by applying two coats of Drybase Liquid-Applied DPM to the masonry below the line of the DPC using a large soft brush.
-
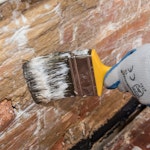
Apply Dryshield to wall in a single coat using a large soft brush. Make sure any holes and cracks are filled with cream and that all areas are coated evenly. One 5 litre pack of Dryshield Cream covers up to 25m2, depending upon the unevenness and porosity of the substrate.
-
Allow the Dryshield Cream to soak into the substrate for at least 30 minutes, however, do not leave it for more than 24 hours before fitting the plasterboard with Drygrip Adhesive. Reinstate any removed fittings and socket fixtures before continuing.
-
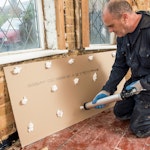
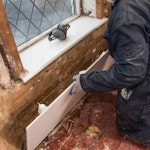
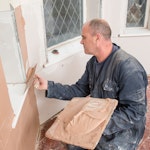
Prepare the plasterboard by measuring and trimming it to fit around any electrical sockets and light fittings on the wall. Check the fit by offering the board up to the wall. A gap of 12 mm should remain between the base of the plasterboard and the floor.
-
Prepare adhesive by inserting cartridge into Drygrip applicator gun and cutting it open. Screw nozzle cap into place. Trim nozzle to 10mm diameter size hole.
Tip: If leaving opened cartridge in gun, ensure nozzle is covered with tape or similar to prevent material -
Apply small dabs of Drygrip Adhesive to the reverse side of the plasterboard at regular intervals. Typical consumption should be 1 – 2 tubes per sheet of standard size plasterboard. The thickness of Drygrip Adhesive will allow for some adjustment, permitting the plasterboard to accommodate and cover uneven areas of the wall. When application is finished, remove the nozzle cap and clean the applicator gun.
-
Offer the board up to the wall and fit into place. Ensure sufficient contact with Drygrip adhesive whilst allowing an air gap (preferably 10 – 12 mm to remain so that the plasterboard is not in contact with the wall. Adjust sections of plasterboard to fit over uneven areas as necessary.
-
It is recommended to prop-up the board using 12 mm plastic wedges or 12 mm thick offcuts for a precise fit. At normal temperatures, Drygrip Adhesive should set adequately after 1½ hours. At colder temperatures (i.e. sub 10°C), leave for 2 – 3 hours and check adhesion by gently pressing the plasterboard before further work.
-
Use the provided Dryzone Express Replastering System drill bit to drill holes at the corners of the plasterboard no closer than 25 mm to the edges.
-
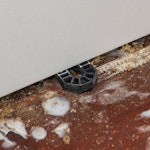
Use Dryzone Express Replastering System Positioning Plugs to ensure an even flat surface across all boards. Tap in Fixing Plugs with a hammer, ensuring the final surface is even.
-
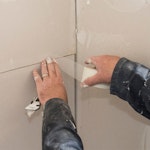
Apply scrim tape between any plasterboard joins.
-
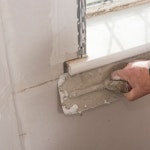
A skim coat of plaster can now be applied. Proceed with additional replastering or decoration as required.
-
For faster replastering, apply scrim tape as usual, then joint the plasterboards by using the dry jointing method. Afterwards, apply a coat of plasterboard sealer, which can be immediately painted onto once the sealer is touch‐dry.